Greetings,
Today we’re talking about Winter Bikepacking and how to do it if you’ve never done it before. Definitions help when you’re just starting out, so here’s what we’re dealing with:
Winter is the coldest season of the year, but cold is relative and a February night in Maine feels different from one in Mesa, Arizona. For these purposes, we’re going to concern ourselves with snow, ice, and temps below freezing. You know, real Donner Party shit.
Bikepacking is what happens when you combine mountain biking with barebones camping. Your trip could span weeks and cross state lines, or it could be a quick overnighter close to home. The general idea is to shun pavement and pack only what you must.
There are many fine books and internet publications devoted to biking and/or camping in winter — notably Bikepacking.com and YouTube. On occasion, our pal Fleck has endorsed the writing of Wilderness Guide Cliff Jacobson. But sometimes expert advice can feel overwhelming, especially if you’re not an expert yet. At Surly, we want to remind you there’s no need to overachieve. There are no grades. There’s no curve. There’s just packing some bags and farting around on your bike. So, we’ve put together our own Winter Bikepacking checklist, which you’re free to follow, dial to your tastes, or drop in your next campfire. Here’s what it covers:
1.Clothing & Layers
2.Cargo
3.Safety Equipment
4.The Best Bikepacking Bike for You
5.Tires
6.Camping
7.Tips/Tricks
8.Routes
Clothing & Layers: What to Wear for Cold Weather Bikepacking
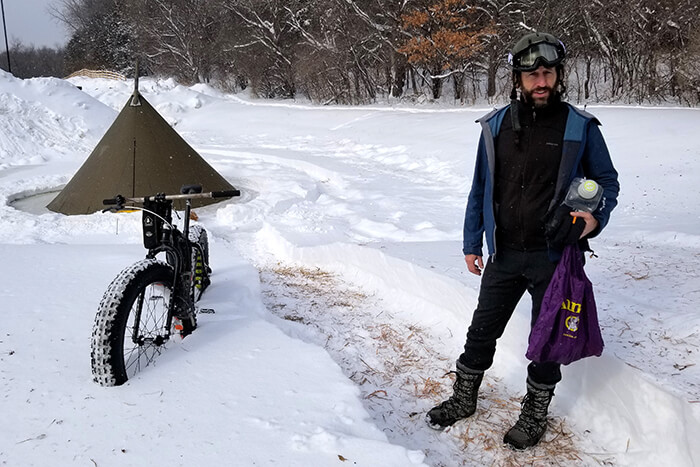
The key to a fun frosty excursion is keeping the cold at bay. In general, riding generates more heat than cross-stitching at camp. Layering — especially around your head and feet — will help you stay warm and dry. We didn’t invent the strategy, but the science is sound.
You’re a unique humanoid with your own sartorial preferences, so landing on what works for you will take some trial and error. You can try to make one set of clothes work for riding and camping, or you can wear separate outfits for each task. Whatever you do, our fearless leader Pintz Guzld recommends using layers to help regulate body temperature. “If you can avoid sweating,” he says, “you won’t have to change your clothes as much.”
For your skull, a wool-lined cycling cap feels pretty good under the helmet. Bonus points if it’s windproof. And to keep your neck, face, and other uncovered surfaces warm, you can manipulate our Merino wool neck gaiter into all sorts of useful configurations.
Because it absorbs nearly a third of its weight in moisture before you’ll feel damp or shivery, Merino is a good option for your trunk and limbs, too. A close-fitting jersey and pants will wick sweat away from your body and keep odors in check for a couple days. Add a thin waterproof outer shell to keep rain and snow from seeping in. “I like to keep my extra layers easily grabbable,” Pintz says. “I try to get through the trip with just one set of clothes over my base layers, and I throw on a puffy down jacket, a hooded one, whenever I stop.”
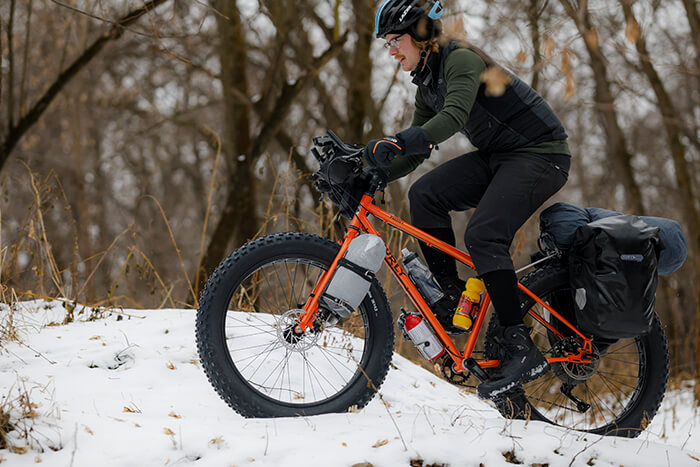
As for your feet, moving makes it easier to retain feeling. A mid or lightweight crew sock made of Merino wool will do the job. Knee-highs usually work best for below-zero temps. When it’s time to choose a winter cycling boot, remember to leave room to wiggle your toes, as too tight a fit may limit circulation and leave you with cold feet. Winter cycling boots come rated for temps ranging from “mild” to “maybe we need a bigger fire.” When packing light is the goal, a good winter boot is one you can wear on the bike or off foraging for more wood. And when you don’t need to pack extra boots, that leaves more space for extra hats, socks, base layers, gloves, handwarmers, and mannequin parts.
Cargo: What to Pack and How to Pack It
Car camping is simple. You just throw your pots and pans in the trunk and go. But for at least the first few trips, loading up your bikepacking rig requires your brain. Practice alone will help you discover what gear you need and what you don’t, but as a starting point check out what Fleck said in a past blog:
- Everything you pack should be used on the trip (OK – hopefully not your first aid kit, but you get the picture)
- Everything you pack should serve more than one purpose; the more the better
Is this doable your first time out? Probably not. But since a heavy load makes your job harder, paring it down can make the ride more comfortable. You can pull up a long detailed packing list over at Bikepacking.com, or you can skim through the bullet-pointers below if you want just the Underachiever’s Essentials. Just remember you don’t need all the latest and greatest gear from the outfitter to have fun. What you’ve got on hand already might work for you — the rest you can filch from friends.
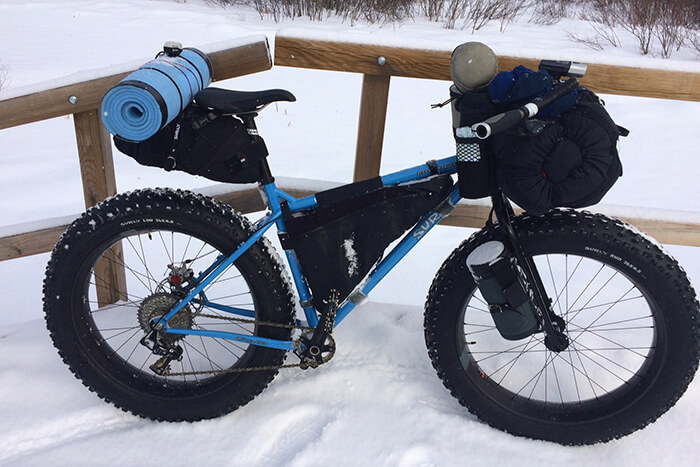
What to Pack
- Closed-Cell Sleeping Pads are warmer than inflatables. Both are warmer than sleeping on the snow. For maximum warmth and comfort in polar-vortex cold, put a closed-cell pad underneath an insulated inflatable pad. You might never go home.
- Sleeping bag — pay attention to the temperature rating.
- Consider a single-membrane solo tent for extra space, a bivy sack if you enjoy a good swaddle, or a sturdy tarp if you want to design your own makeshift shelter. Tarps are also useful for blocking the wind, covering your stuff, making a gurney, etc.
- Foam Roll — Cut chunks off a cheap foam roll or even an old yoga mat and use them to pad seats or to stand on when changing your clothes.
- White gas stoves are more reliable than propane and alcohol stoves in extreme cold. The Esbit Pocket Stove comes highly recommended.
- Pack a pint-size stainless steel pot for boiling water and heating MREs.
- Dehydrated meal packs (MREs) — Many foods will freeze if they contain too much moisture. Like bread, for example. Who knew? Anyway, MREs pack light and cook fast. Bring a tiny bottle of Tobasco for a good time.
- Spoon — We know a guy who uses metal silverware when he can’t find a tire lever and that’s fine, but wooden and plastic utensils are a safe bet for eating by the February fire. Unlike metal, they won’t scald your mouth when hot or stick to your tongue when frozen.
- 1-Liter Nalgene Bottle — A metal canteen will stick to your mouth and freeze your fingers — the plastic Nalgene avoids both issues. 33.8 ounces is plenty big, as you can melt snow at camp when you need more water. Pro Tip: Pintz says snow melts more readily if you put a little water in there at the beginning.
- Insulated Bottle Carriers — Keep your water and Honey-Lemon Tea from freezing during the ride.
- Leather Choppers – Because they’re warm and your riding gloves could melt when you’re stoking the fire.
- Frost River’s Sven Saws — They cut wood. They fold. They pack light.
- Firestarter, paper, extra lighters, extra matches
- Two headlamps and extra batteries
How to Pack It
When it’s time to load up, evenly distributing your stuff up front and behind your seat will help you stay upright. Put heavy items like tools, food, and water in the center of your bike for easy turning — preferably in a frame bag. Larger lightweight items should ride in back, so roll up your tent, pad, and sleeping bag together and stuff ‘em in the rear bag all at once. Put the rest of your provisions up front in a handlebar bag or on a rack. You can go a little heavier up there because the handlebars will help stabilize your goods.
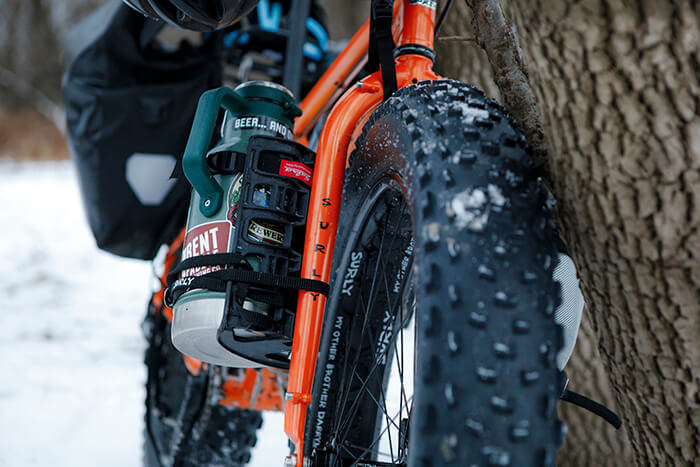
The racks and bags you need will depend on how many F×R×I×E×N×D×S DVDs you’re carting into the wilderness. Make sure the bag you choose isn’t too big for the rack you need it to sit on, and remember to pocket a few lashing straps in case things come loose or you need to fashion a splint.
If traveling light remains your be-all, end-all, handlebar and frame bags may be the way to go — they’re lightweight and attach easily. But keep in mind, as the temp goes down, essential items like sleeping bags and warm clothes eat up more space.
Bikepacking Safety Equipment: Because It’s Nice to Feel Safe
Maybe you’re the type who doesn’t like to plan for emergencies, but we’d be buttheads if we didn’t mention at least a few potentially life-saving items. Unless your bikepacking trip has you squatting behind the local Walgreens, tuck a basic first-aid kit into one of your bags.
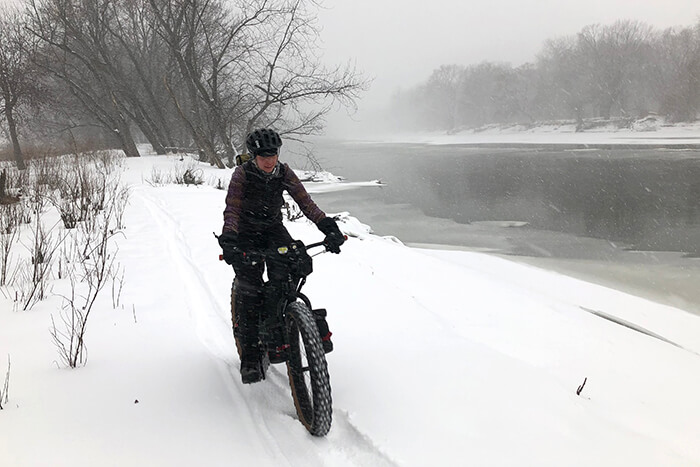
Alongside that, include a headlamp or two, a functioning compass, a paper map if you can get one, a sharp knife, a shiny whistle, some water-treatment tabs, your cell phone and charger, and batteries for the portable DVD player. (We’re serious about the whistle, btw. High-pitched sounds travel farther than desperate screams.)
A space blanket and plastic poncho will keep you warm when everything else is wet, and a fire kit with extra matches will do the same. Remember to pack a simple tool kit with tweezers, a screwdriver, and whatever items you might need for quick-and-dirty bike repairs. And as always, tell someone where you’re going and how long you plan to stay gone. Surly cares about your safety.
The Best Bikepacking Bike for You: A Sales Pitch Inside a Survival Guide
If you typed “What do I look for in a winter bikepacking bike?” into the search box and got dropped off here, good news! You’re in the right place. As with other cycling disciplines, the right rig for you depends on the type of terrain you want to cover. You’ll also want to spend time ruminating on suspension, gearing, and wheel size.
Touring bikes are a solid option for long-distance rides, but a capable trail bike may be easier to handle when you’re rolling off-road over ice and snow. A gravel bike set up with fat tires should be able to handle this type of terrain, but again, a rigid or hardtail MTB will help you stay upright when shit gets spicy. A full-sus bike will soften even the harshest trails, but the shocks might eat up real estate you’d rather set aside for water or whisky. Unlike the rest of these options, Fatbikes combine the look and feel of a mountain bike frame with fat or oversized tires — generally 3.8” or wider. They’re purpose-built for riding on the soft, unstable surfaces you’re likely to explore on the way to your site.
And what about your drivetrain? If you expect snow along your route, you’ll probably spend most of your time in the lowest gears.
Wheel size is another topic even best friends and lovers fight over. If 26”, 27.5” and 29er wheels all fit your height, give the 29er platform a whirl. For winter bikepacking, larger wheels offer gains in stability, traction, and comfort that might offset any diminished ability to accelerate or maneuver.
Bikes are a personal decision, and hey, you might not need to buy one. Maybe yours is loaded with winter bikepacking potential, just waiting to be unlocked with a different wheelset. But if you’re looking for something new from your local Surly dealer, sit on these and see what you like:
● Ice Cream Truck: With room for a full 26 x 5” tire on 100mm rims, Ice Cream Truck offers maximum tire clearance to inspire hootin’ and hollerin’ over uncompromising terrain — everything from rocks and roots to loose snow and sand.
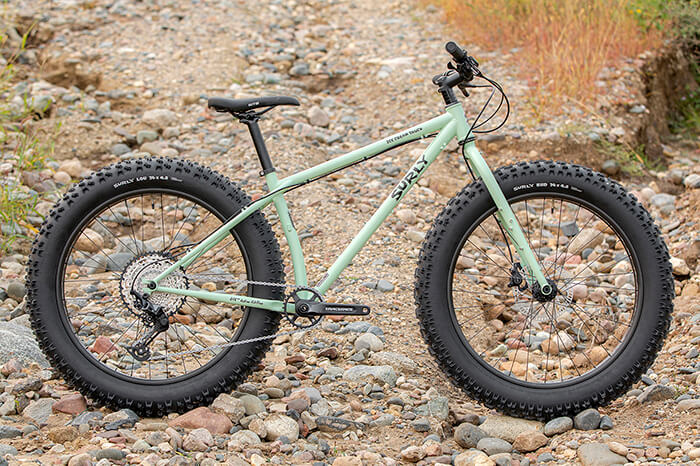
● Wednesday: This all-around fat bike rides like a trail bike and has space for tires up to 26 x 4.6” on 80mm rims. Eats up technical trail features and packed snow any day of the week.
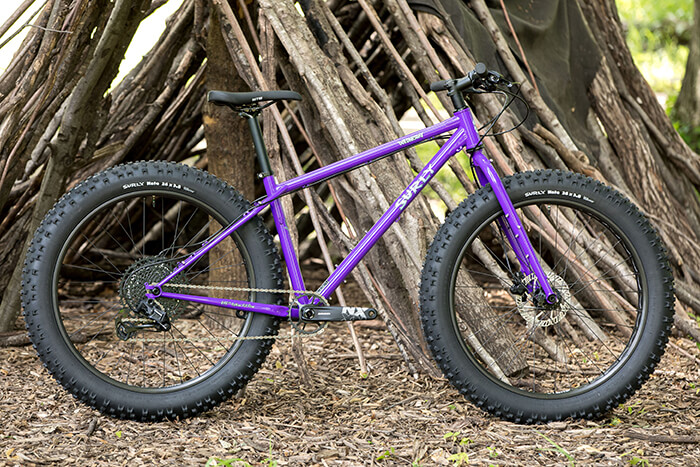
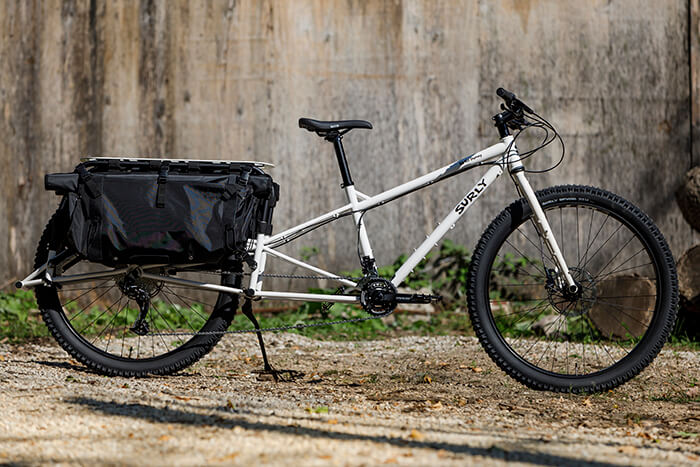
● Big Fat Dummy: An off-road, long-haul cargo bike fit for fat tires. Remember how we talked about packing light? If you’re not into that, this is your bike.
Bikepacking Tires: Knobs and Studs
After choosing the bike and wheel size that work best for the type of riding you want to do, next up is finding the right winter bikepacking tires. Something lightweight and fast-rolling may be tempting, but a heavier, more durable tire is going to take some abuse and keep you rolling down the trail. After all, the last thing you want to do with a fully-loaded bikepacking rig is walk it out of the woods because a tire failed.
Depending on the terrain you’re up against, you might also want to experiment with studded tires or something with big knobs. Studded tires make the most sense when ice is unavoidable. With metal studs embedded in the tread, they deliver extra bite for turning, braking, and hitting the gas.
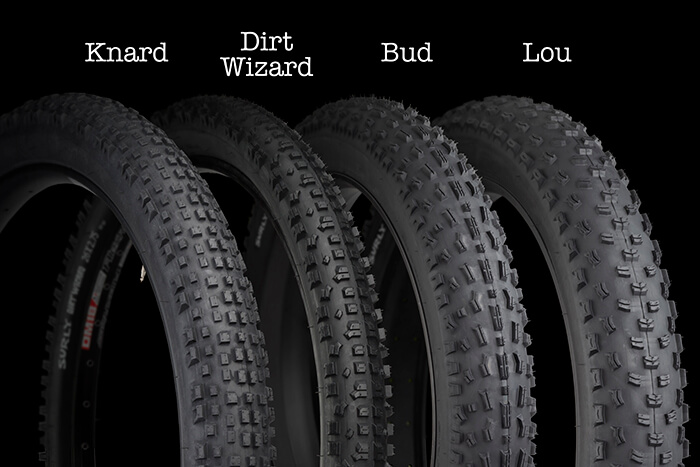
Our tubeless-ready Knard and Dirt Wizard tires have strategically placed knobs to dig into snow and muck and find traction where nary any exists, and we’ve got options for 26+, 27.5” and 29er wheels. If you need something wider, our friends Bud and Lou measure 26 x 4.8” and come outfitted with 7mm siped knobs to shed snow.
And why tubeless ready? Trail debris and big impacts tend to blow tubes, and snow cover can make it tough to see those hazards before it’s too late. You can also run tubeless tires at a lower pressure — a tasty feature when you’re looking for extra traction in buttery mashed potatoes.
Camping: It’s Kinda the Whole Point
If this is your first time camping in winter period, don’t be afraid to keep it short and sweet. You’ll be more likely to return to the scene of your winter bikepacking crimes if you aren’t miserable the whole weekend. And speaking of being miserable, you can stay home if you don’t like the forecast. Temps in the teens and lower 20s make for good riding and camping. Colder temps can be painful if you’re not adequately outfitted and experienced, and anything warmer tends to make shit sloppy.
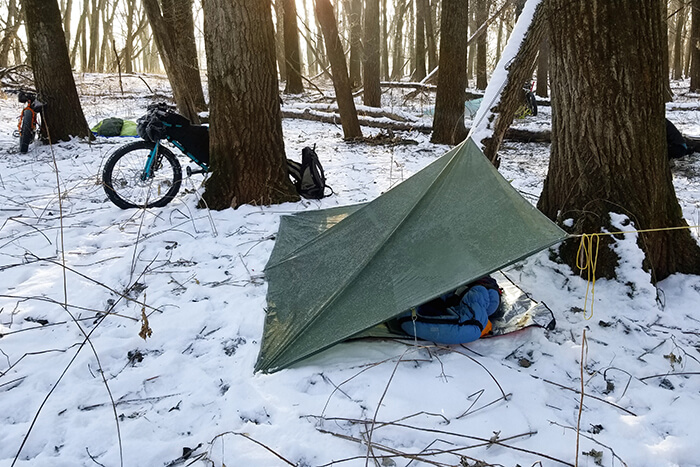
Most parks and campsites close down for winter, and that means you might be camping off-trail wherever you find a good spot to lean your bike. It also means you need to carry more gear to be self-sufficient. Do what you can to choose a site that’s easy to access but remote enough that no one will hear you laughing and carrying on. And remember, there’s no shame in bailing early if something goes sideways. If part of your trip involves driving, park your car nearby for a quick exit.
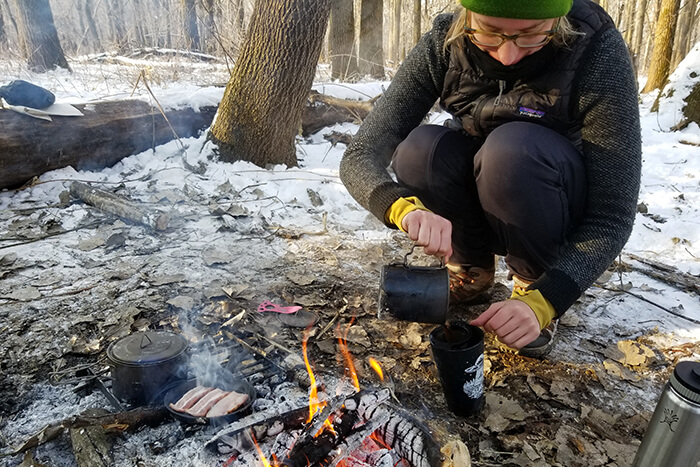
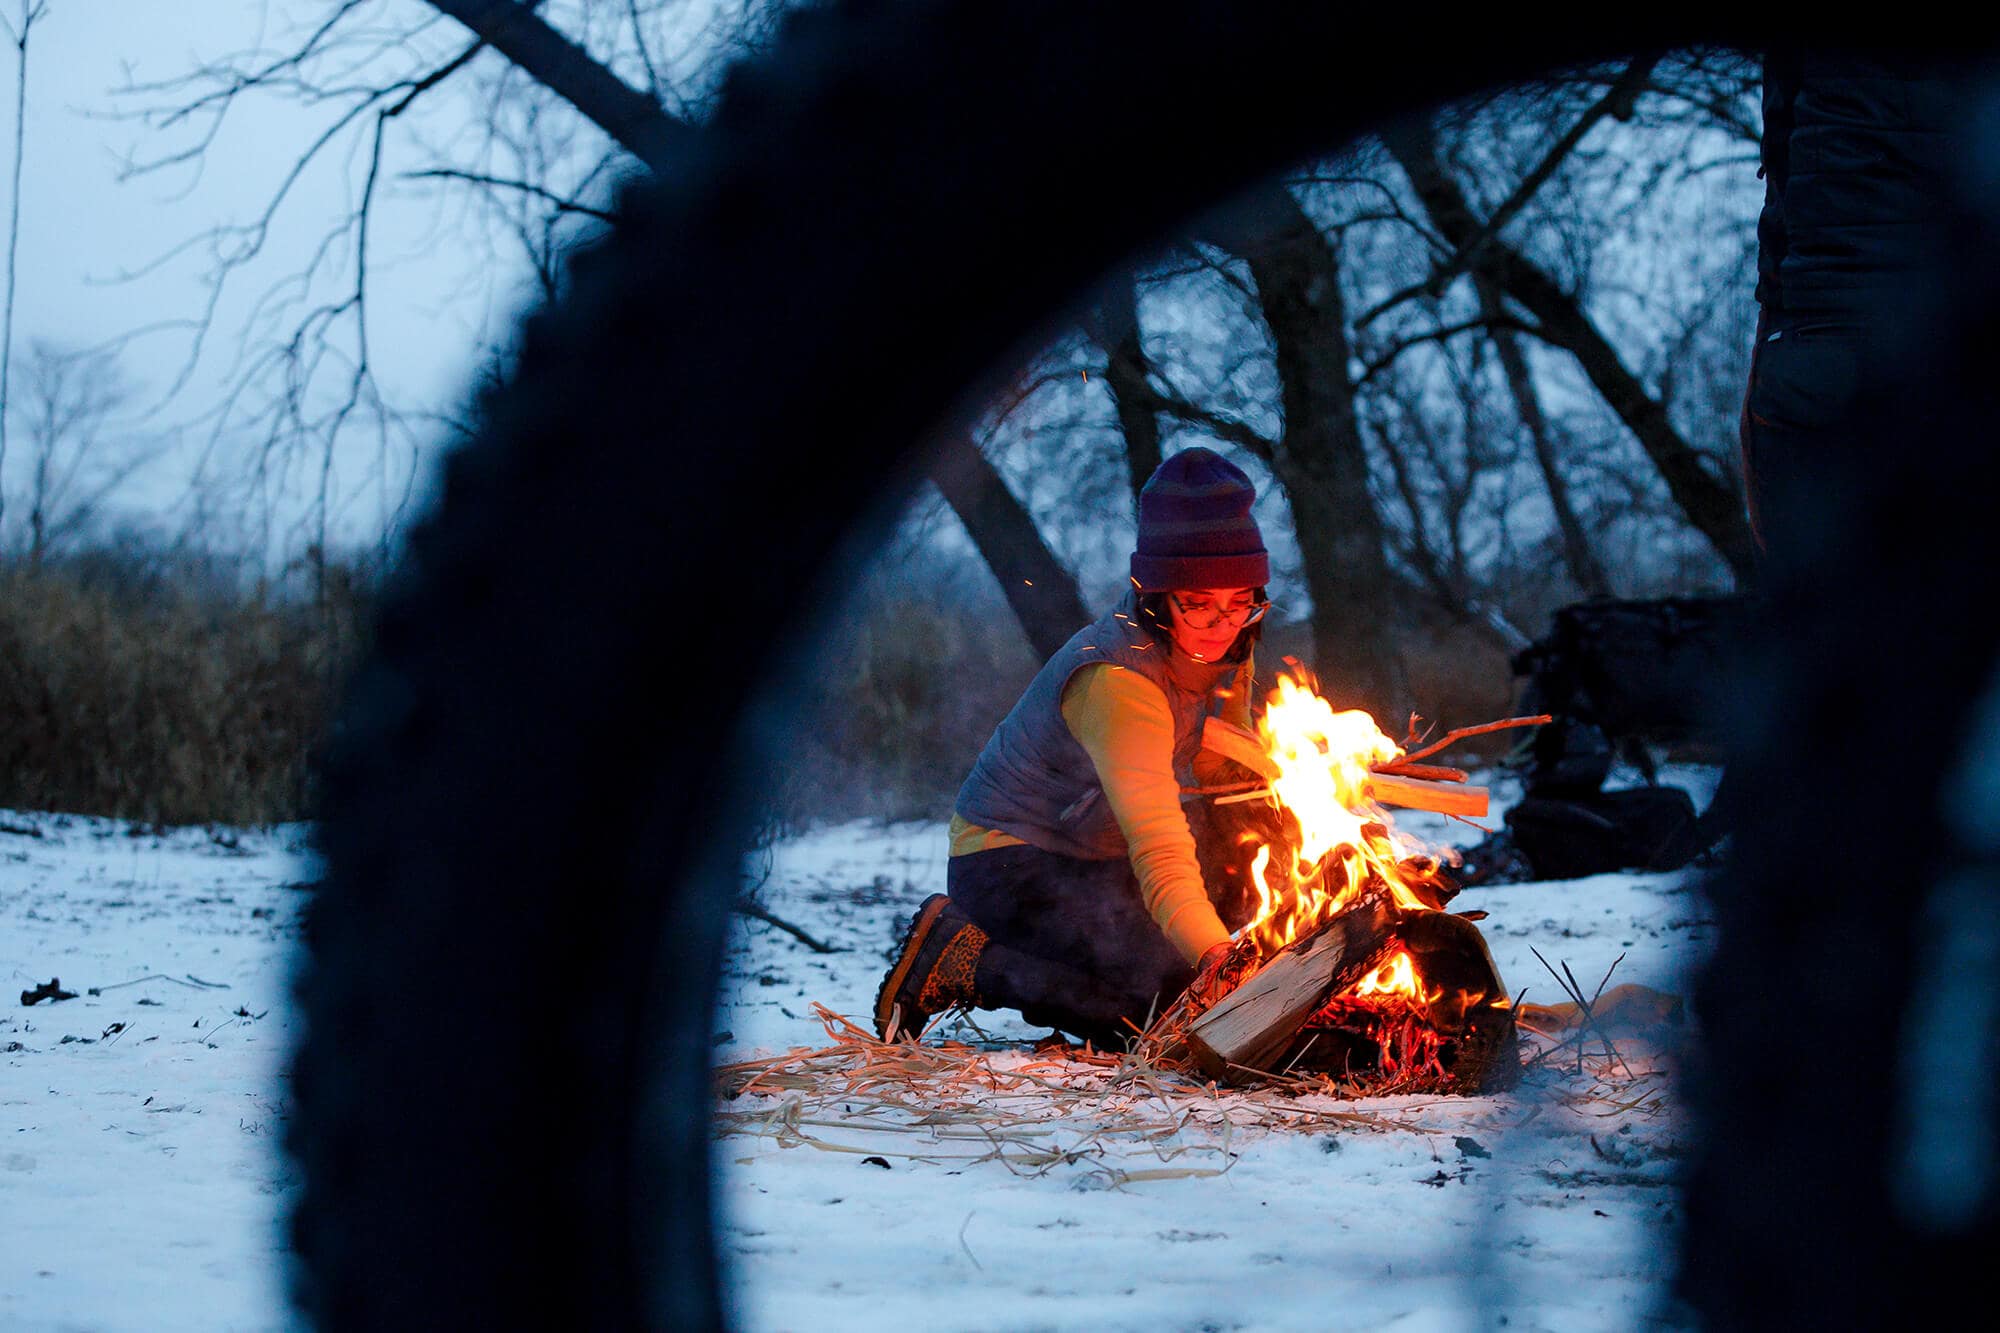
Once you arrive at sleepover camp, get into dry clothes and start your fire first thing. Procure more wood and prep it. Pintz says he spends most of his camping time cutting wood for a big bedtime fire and another smaller one for breakfast. Clear snow wherever needed, prep the rest of the site, and set up your sleep station while there’s good light left. After that, explore the area around your camp and get to know your surroundings. When you’re comfortable, fire up your ROCK MIX on the Bluetooth speakers. Other ways to pass the time include eating, imbibing, encouraging good blood flow, and enjoying some downtime with your own deluded thoughts.
Surly-Approved Tips and Tricks for More Comfortable Camping
- Review the 7 Principles of Leave No Trace to minimize your impact on your surroundings
- Go with someone more experienced if you can
- Save your phone for emergencies. Keep your phone, batteries, and vape pen in your sleeping bag with you so the cold doesn’t drain them overnight
- Wear your headlamp to sleep if you can. It’s easier to find shit in the dark with a 500-lumen forehead
- Put any wet clothes at the bottom of your bag before you turn in. They’ll dry more quickly if they’re warm. Note: This is where a longer bag pays off
- Boil some water and bring it in your bag with you to prevent ice buildup in your Nalgene bottle. Bonus: It’s hot!
- Fat-forward snacks like sausage, crackers, and cheese won’t freeze
- Whisky won’t either
Bikepacking Routes: Start Small and Try Not to Get Lost
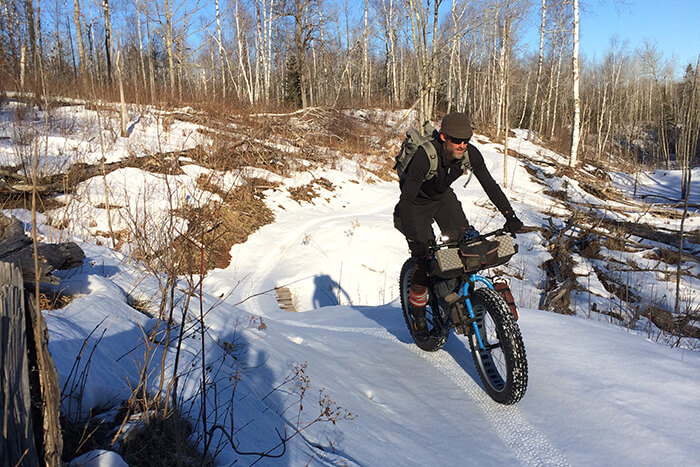
Winter bikepacking gives you a whole new way to take in familiar surroundings. Unfamiliar ones too. Any number of trails can lead you toward a good time, including the 100-mile Tour De Chequamegon in Wisconsin and the 180-mile Straddle and Paddle in Northern Minnesota. Along the Rocky Mountains, there’s the Great Divide (GDMBR), which is 2,600 miles long and full of awful climbs. You can find other epic routes through Montana, Wyoming, Colorado, Utah, and more on Bikepacking’s website, or you can save the big trip for later and get to know all the weird sounds and smells in your own neighborhood first. The quick overnighters in and around your home zip code are oftentimes the most fun, and the best bikepacking trips are the ones you actually take. So, start small, build up, ask questions, and get home safe — just doing the thing is the best way to learn what you like. Once you’re home, let us know how it goes. Or don’t. It’s all up to you.
 Surly Bikes