Now that Surly has decided to start producing pants I thought I’d go over some the issues that pertain to the installation, modification and removal of said pants. I was pretty excited to get mine because I’ve seen people wearing them around the office for weeks now and I said to myself each time I saw someone in them; “those are some hot pants.” I mean, it's not everyday you get pants that are made for riding that also don't look completely idiotic when you walk into a bar. Carhartts work pretty well and are super durable off the bike, but once you assume a riding position they can do some pretty mean things to your crotchital region. Plus our pants are chock full of other riding niceties like reinforced wear areas, articulated knees, snaps to keep them away from your drivetrain, a U-lock keeper, some seemingly random snaps I can't figure out, and pockets big enough to store an entire pool table's worth of billiard balls in, for, you know, if you want to play a round of billiards in your pockets after your bike ride.
As I began looking at sizes I quickly realized that I was pretty hosed in the inseam department because I, like many other Midwestern Americans, am built like a door. The Surly pants seemed to taunt me, saying; ‘Oh, your waist is 36, but your inseam is 32?! Look elsewhere fatty.” Undeterred, I was absolutely gonna cover my shame with our sweet, sweet pants. What follows will be important information for those door shaped people also wanting to cover their respective shame with our nifty trousers.
For this informational blog post I will cover the three topics listed above: Installation, Modification and Removal.
How to install your Surly pants
Step 1: Undo the button at the front of the pants that sits directly above the Zipper. Drop zipper to its lowest setting.
Step 2: Hold the pants in front of you.
Step 3: While grasping the pants at the sides of the waist, zipper facing forward, back pockets facing towards you; insert the leg of your choosing into its corresponding leg hole. Inserting one leg at a time will ensure that you “put your pants on one leg at a time, just like everyone else” and will also minimize any fall hazard.
Step 4: Hike pants up to a comfortable height. At no point should you feel any discomfort or leave any marks.
Step 5: Secure the button at the waist, and don’t forget to close the barn door.
Step 6: (Optional) Adjust your junk.
For removal, simply reverse the steps required for install.
Recommendations for the modification of your Surly Pants.
You may have completed the above steps to find that your Surly Pants are just too damn long. Bum-out not, for the stumpy have many options when it comes to custom fitting their pants to the exact length they require. Let's examine the three easiest ways this can be accomplished, but remember, there’s always more than one way to skin a guy wearing pants.
I took the path of least resistance and simply bugged my brother’s wife to do it for me. She is both amicable and amenable and she lives right by me! My pants are now short, just like my legs. If you can manage to cajole a friend or relative into doing it, or pay someone to do it for you, that'll get the job done, but it's not very fulfilling.... In terms of paying someone to do it for you; that will involve things like Google or the Phone book. The pro tailor method is also pretty low effort and will result in some pretty high-tech hemming action. Another thing I thought about doing was walking into the lobby of a hotel and telling the person working the front desk that I left my sewing kit at home so I could just do it myself. I briefly contemplated doing this but figured the ice in my beard from riding over there would be a dead giveaway that I was not staying there and they wouldnt' give me one of those little free sewing kits, so I fell back on the sister-in-law option.
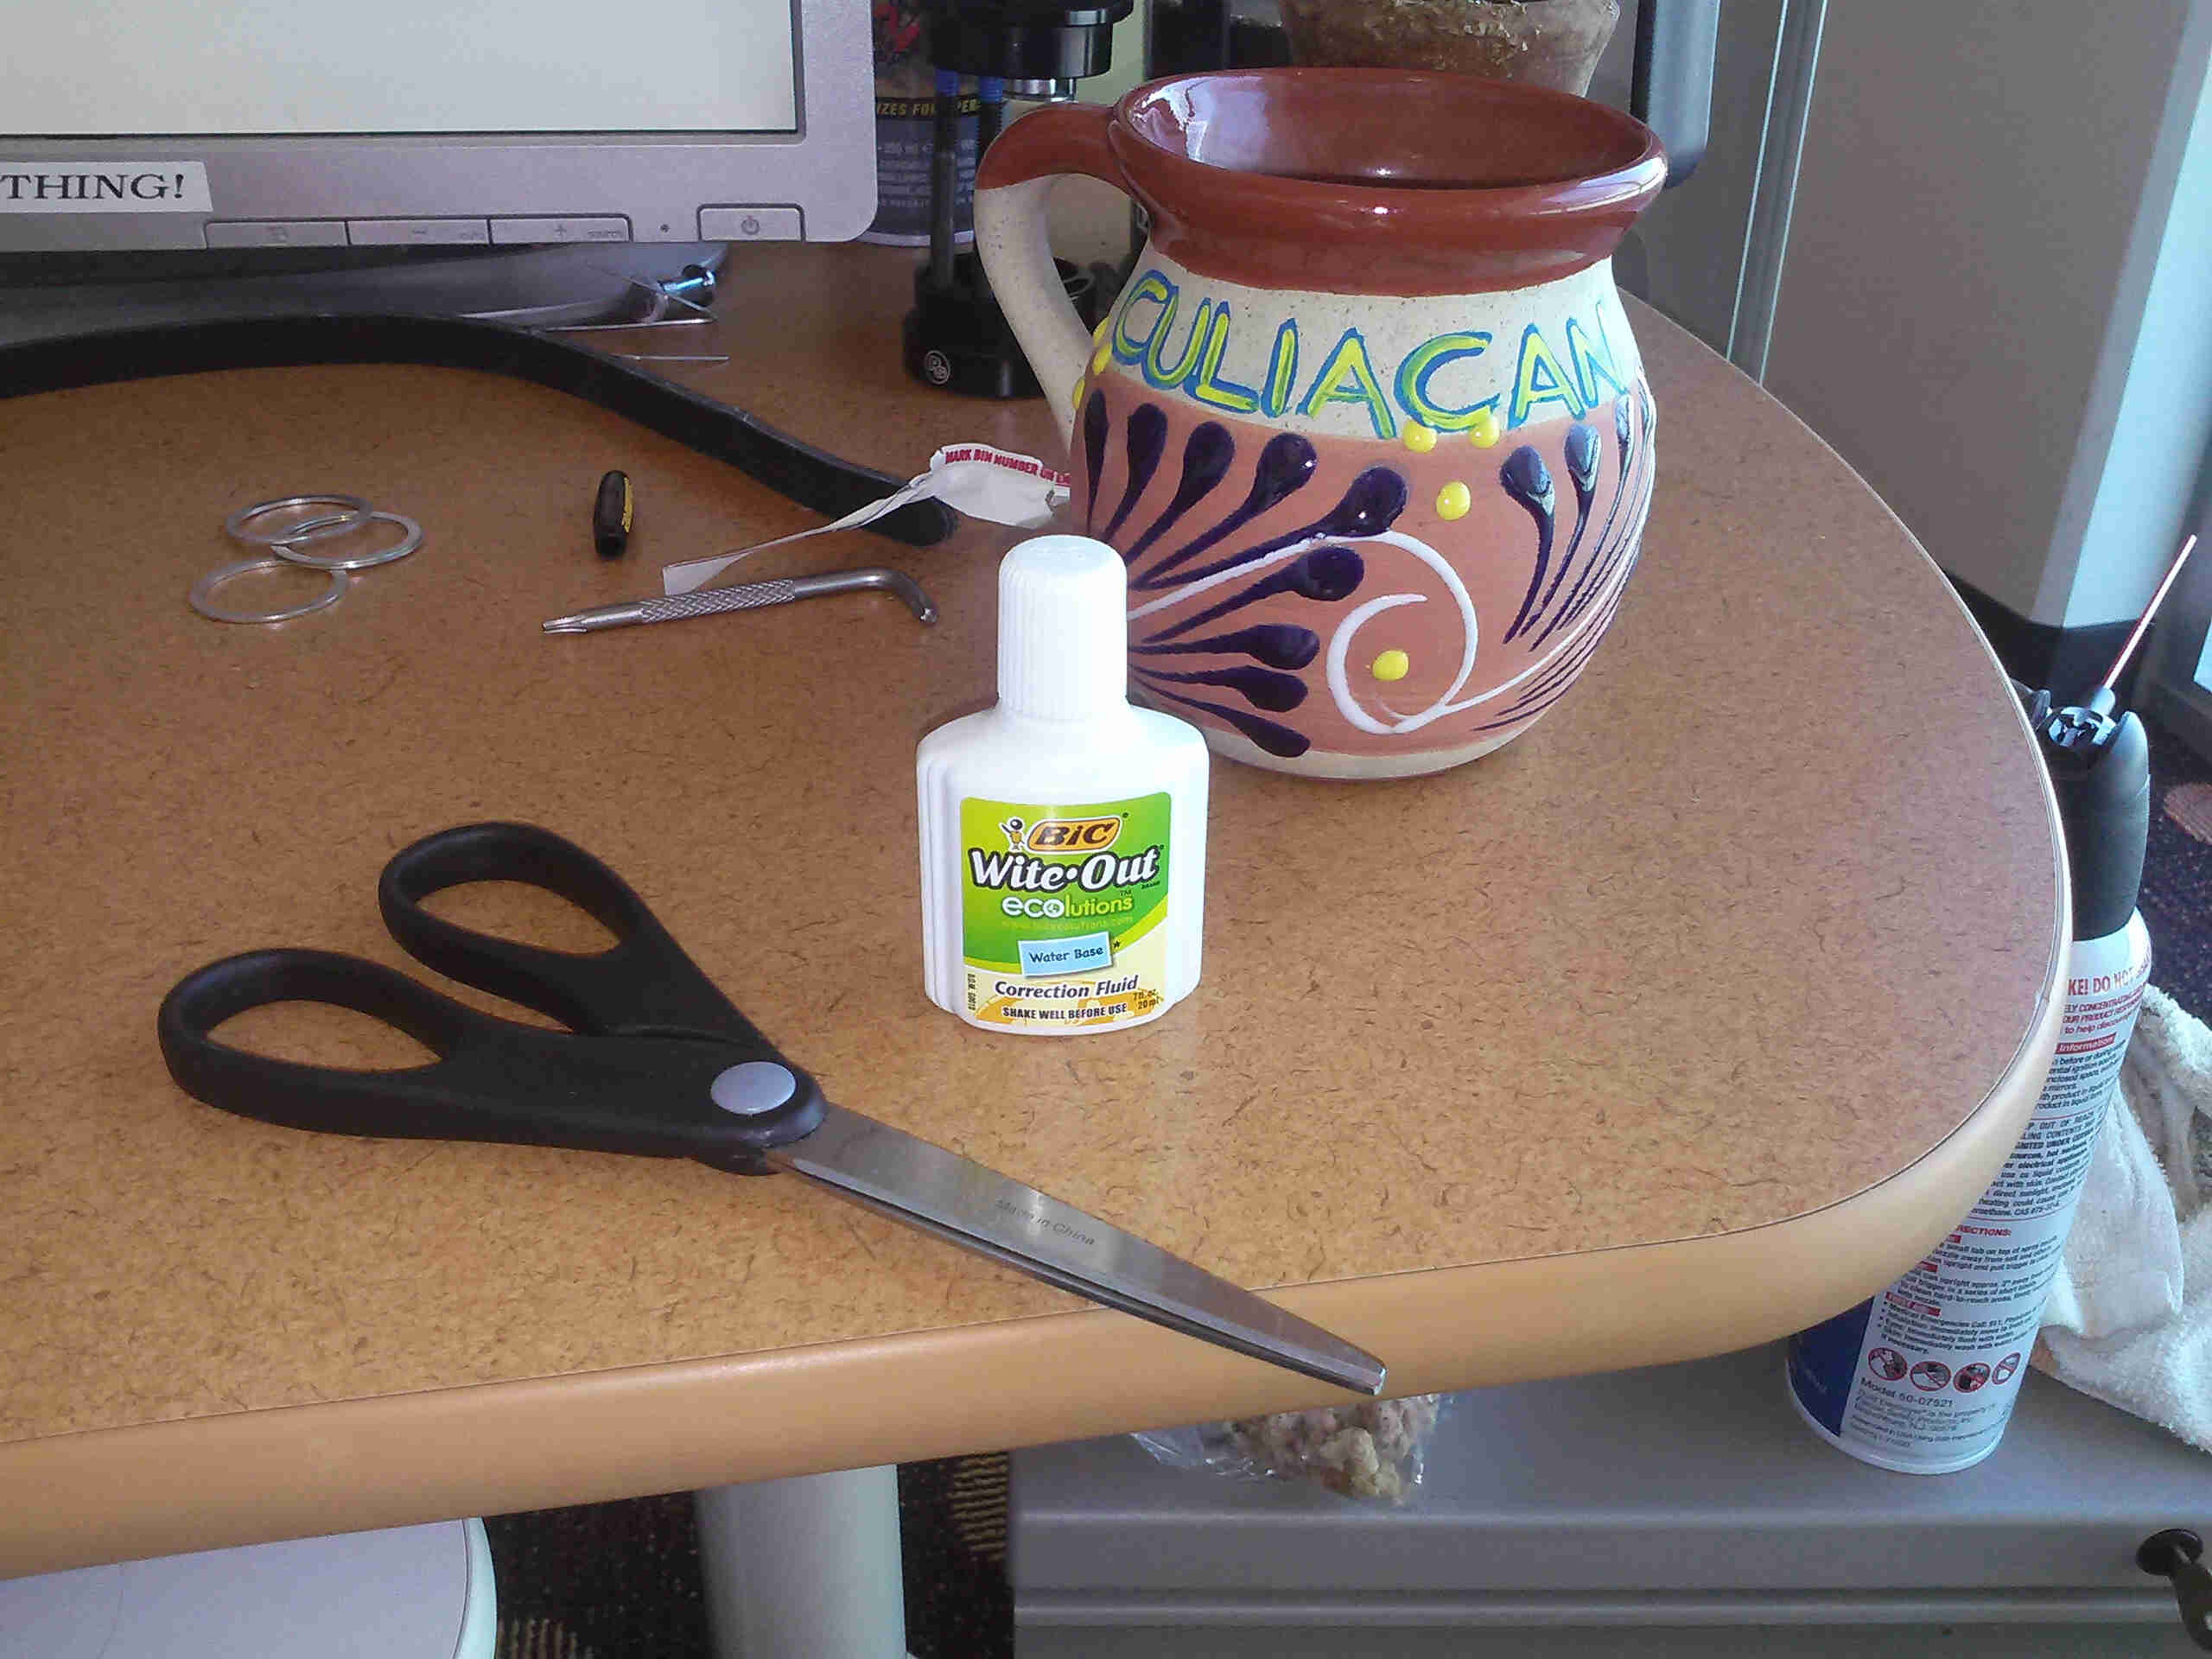
Most of the people I polled here at the Mother Ship simply cut the excess length away. Surprisingly, people employed a lot of different methods to reach the same results. CS homeboy, Gage, did some pretty intricate work, all of it at his desk. He first gathered a small selection of office supplies that could also be used for pants alteration.

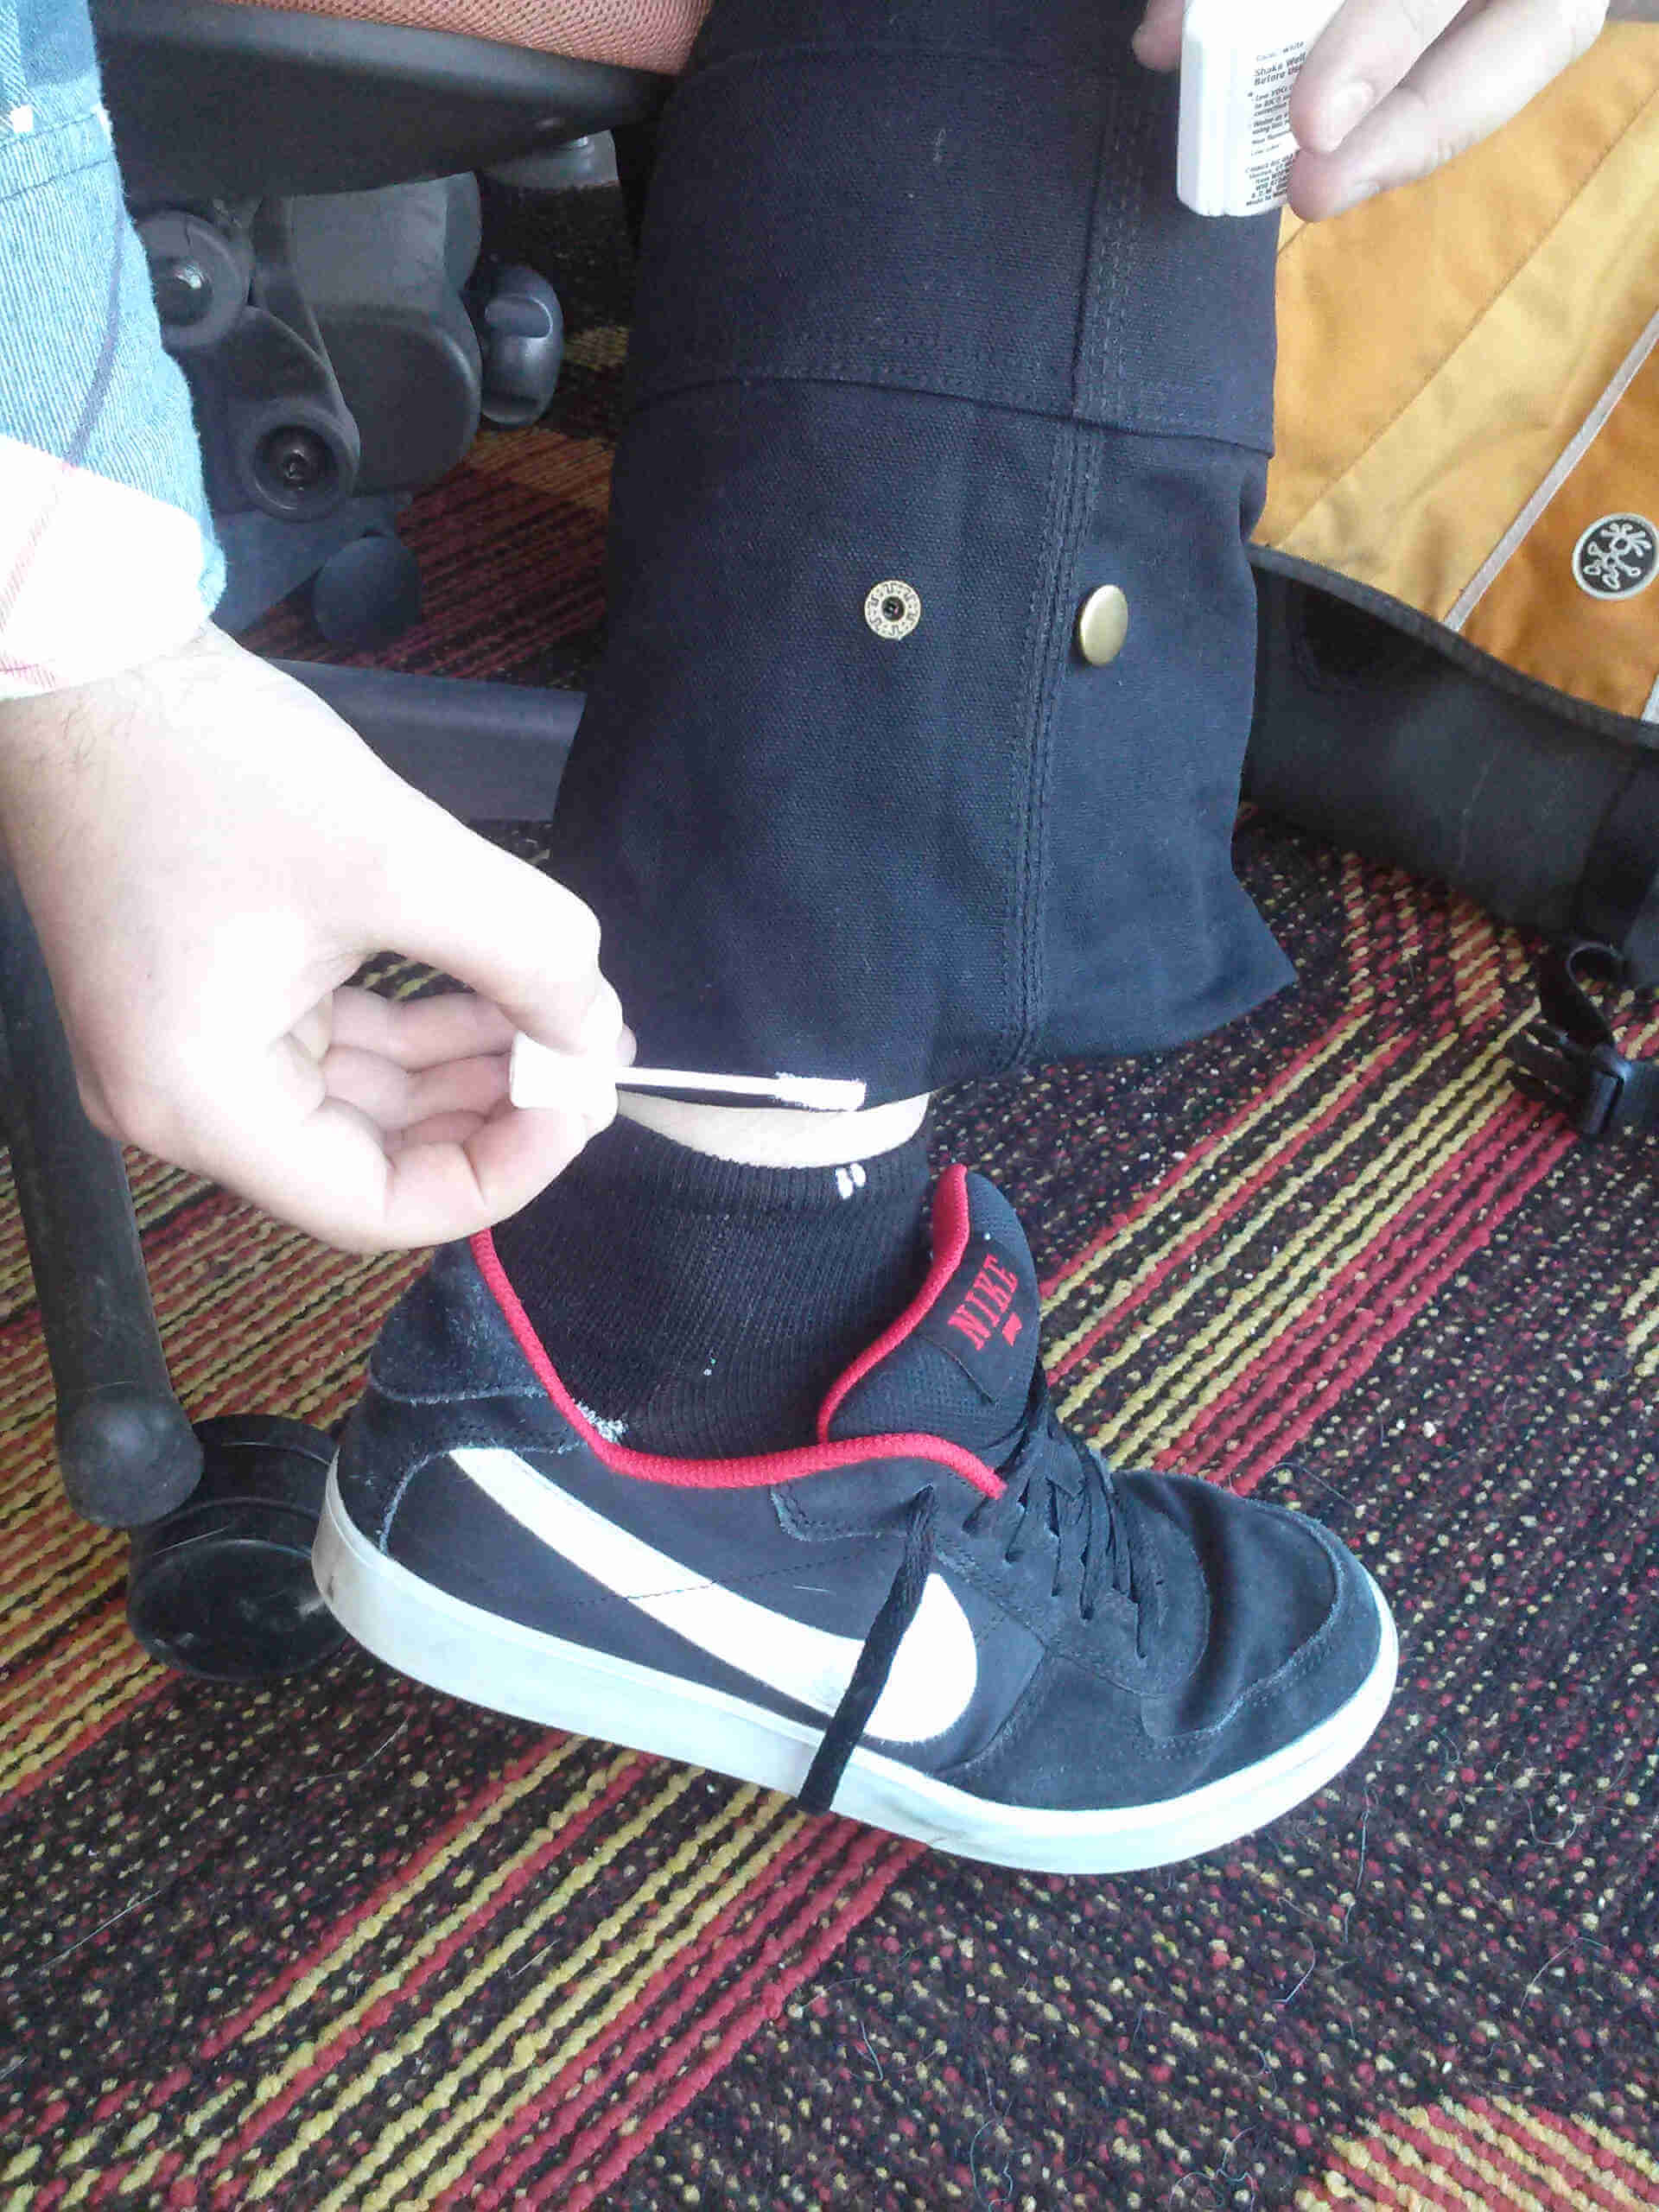
Next, mark where you want the cuffs of your pants to fall.

Then simply take some scissors, or whatever implement you want to use to make the cut, sword, axe, whatever, and cut along the line you have made.
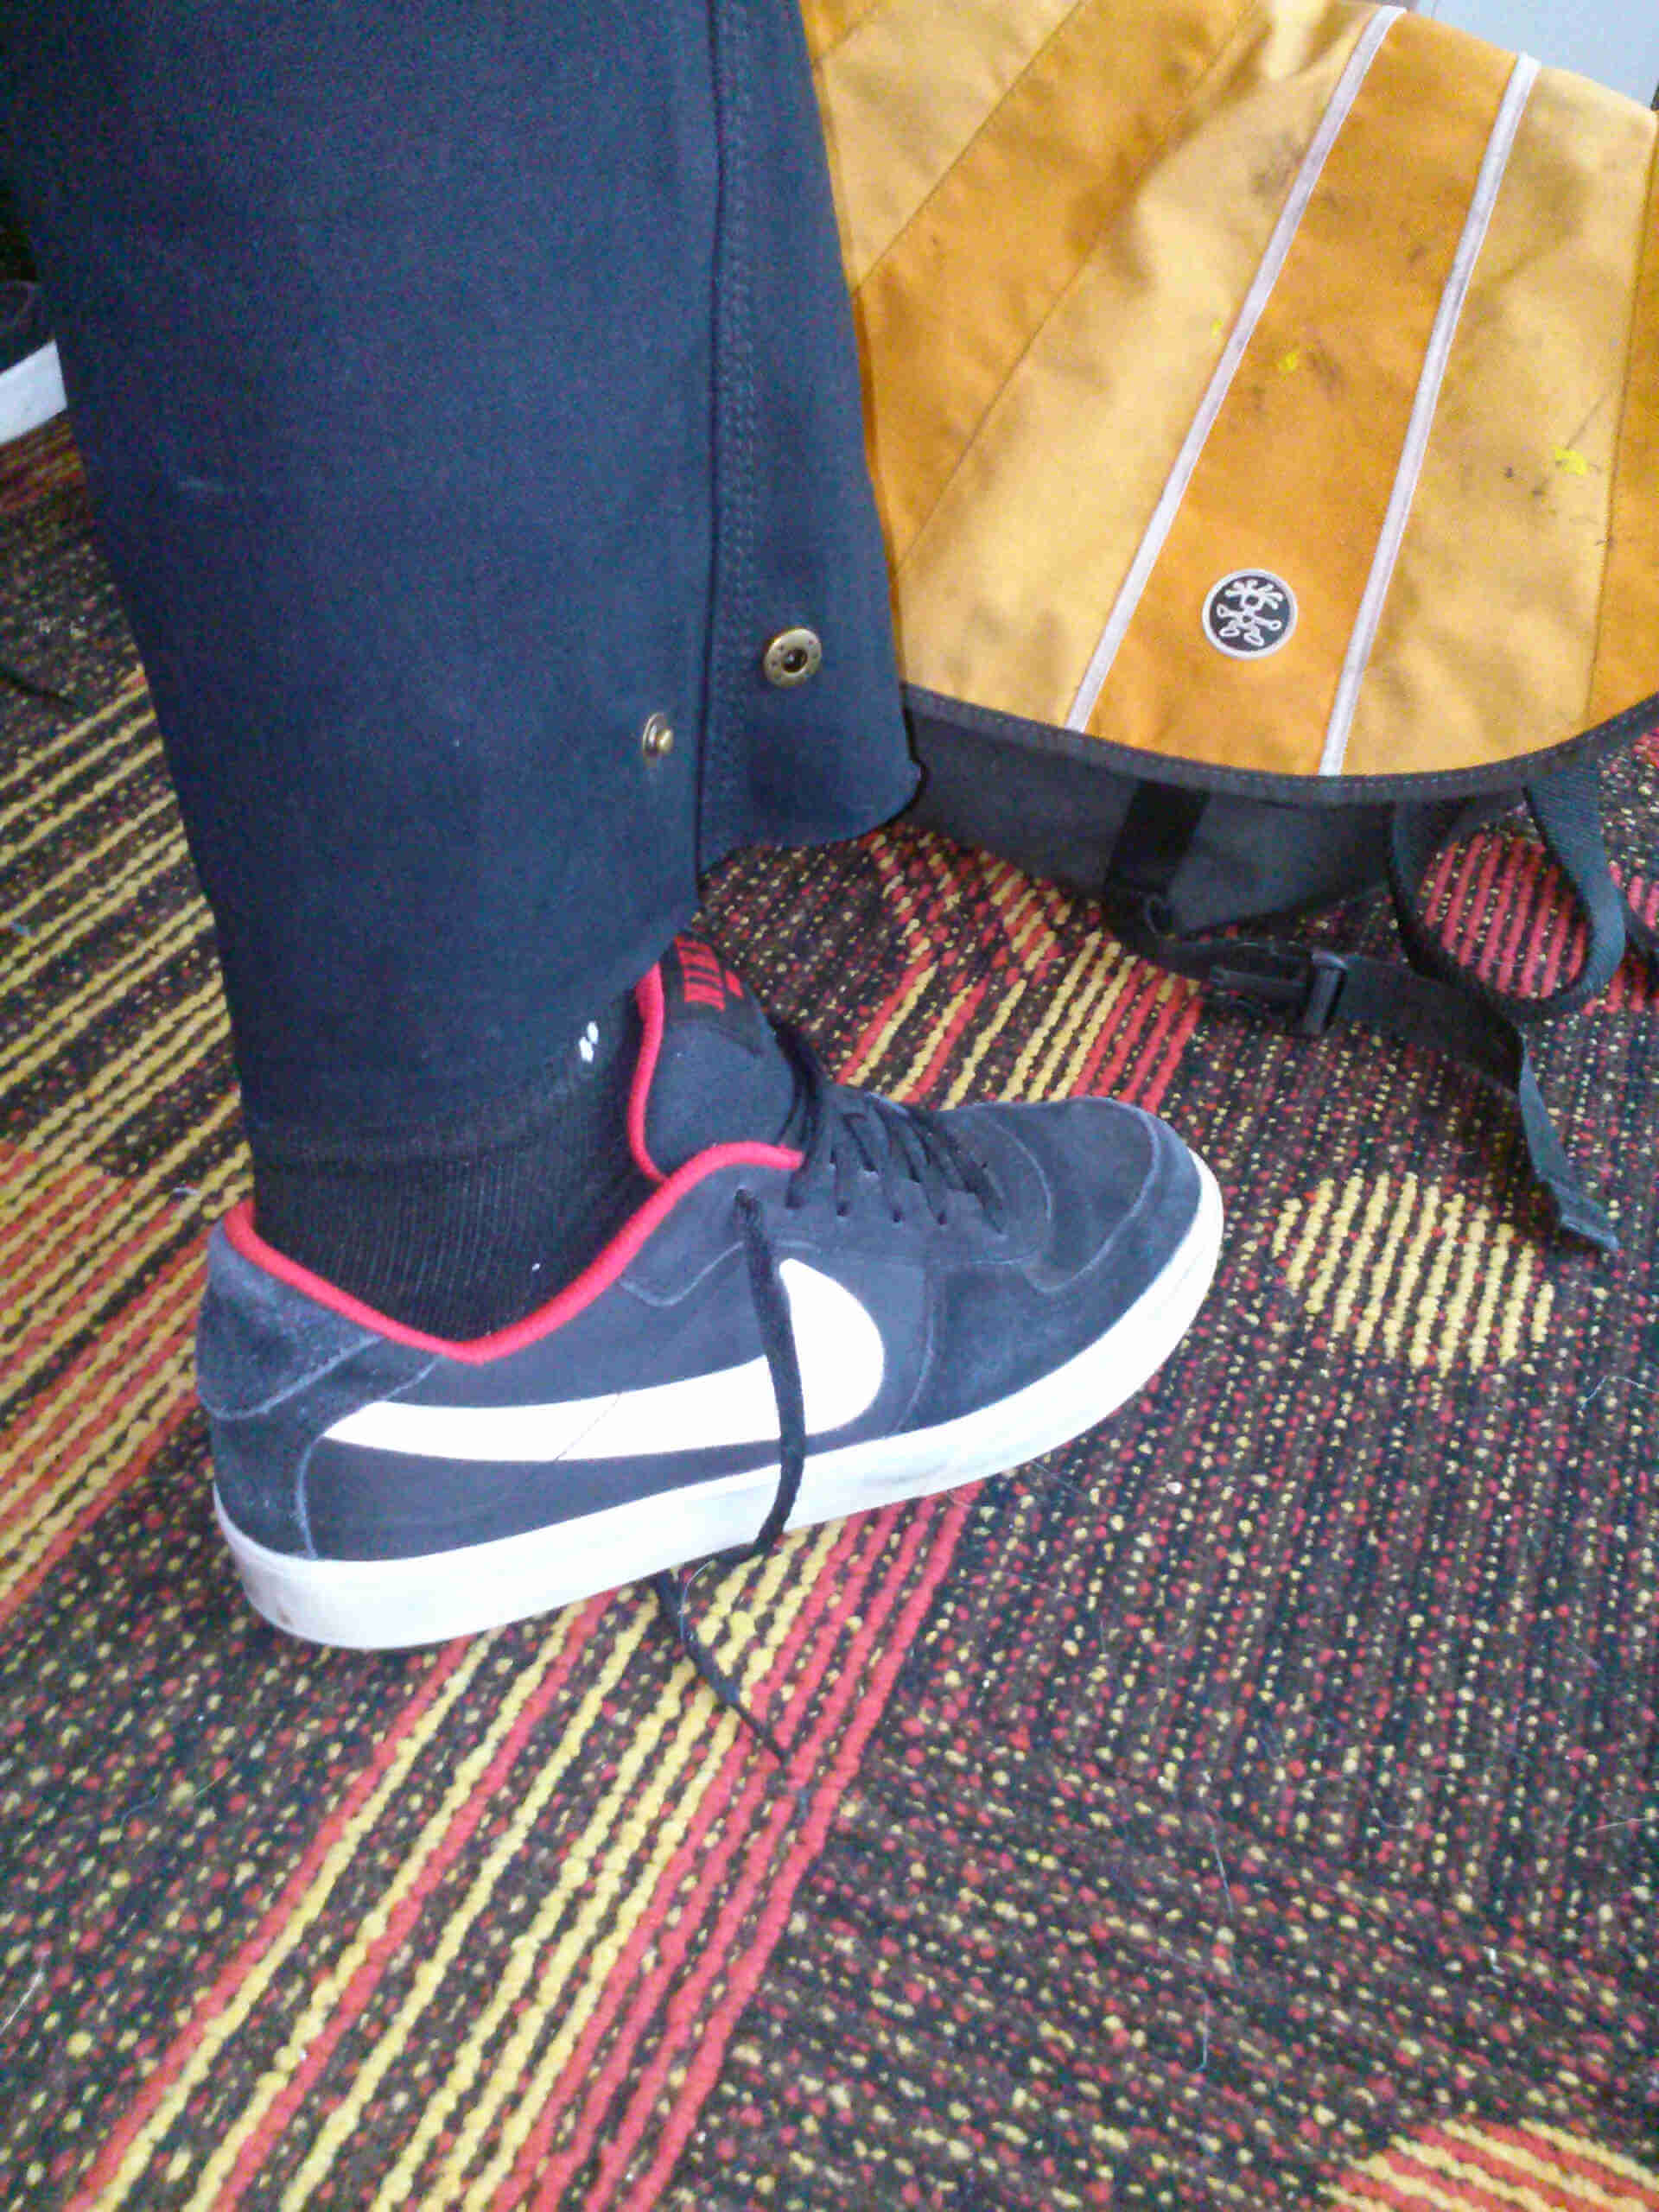
This is what it gets you: shorter pants.

Our Third method for shortening your pants is to simply roll them up. It's a pretty simple two-step process that even those with zero mechanical ability should be able to figure out. The key is hand positioning and lightning quick moves.
Step One: Place your thumbs at the desired height of the first cuff with your index fingers hooked underneath the bottom of your pant leg.
Step Two: In one quick motion, flip that shit upside down!
Step Three: Repeat until your pants reach the desired length.
As you can see, shortening your Surly Pants can be a rewarding experience that will yeild significant gains in both sartorial elegence and self-esteem. You'll feel good about yourself for not having to have your mom do it for you. She'll tell all of her friends how independent you are and that you are "quite a catch." One final thought is that I would be remiss if I didn't mention how awesome these pants are. They're comfy, durable, purpose built for cycling, and I found a dollar in the left front pocket when I was taking the photos for this blog post.
Now get out there and try to wear a hole in the ass with your saddle.
 Surly Bikes