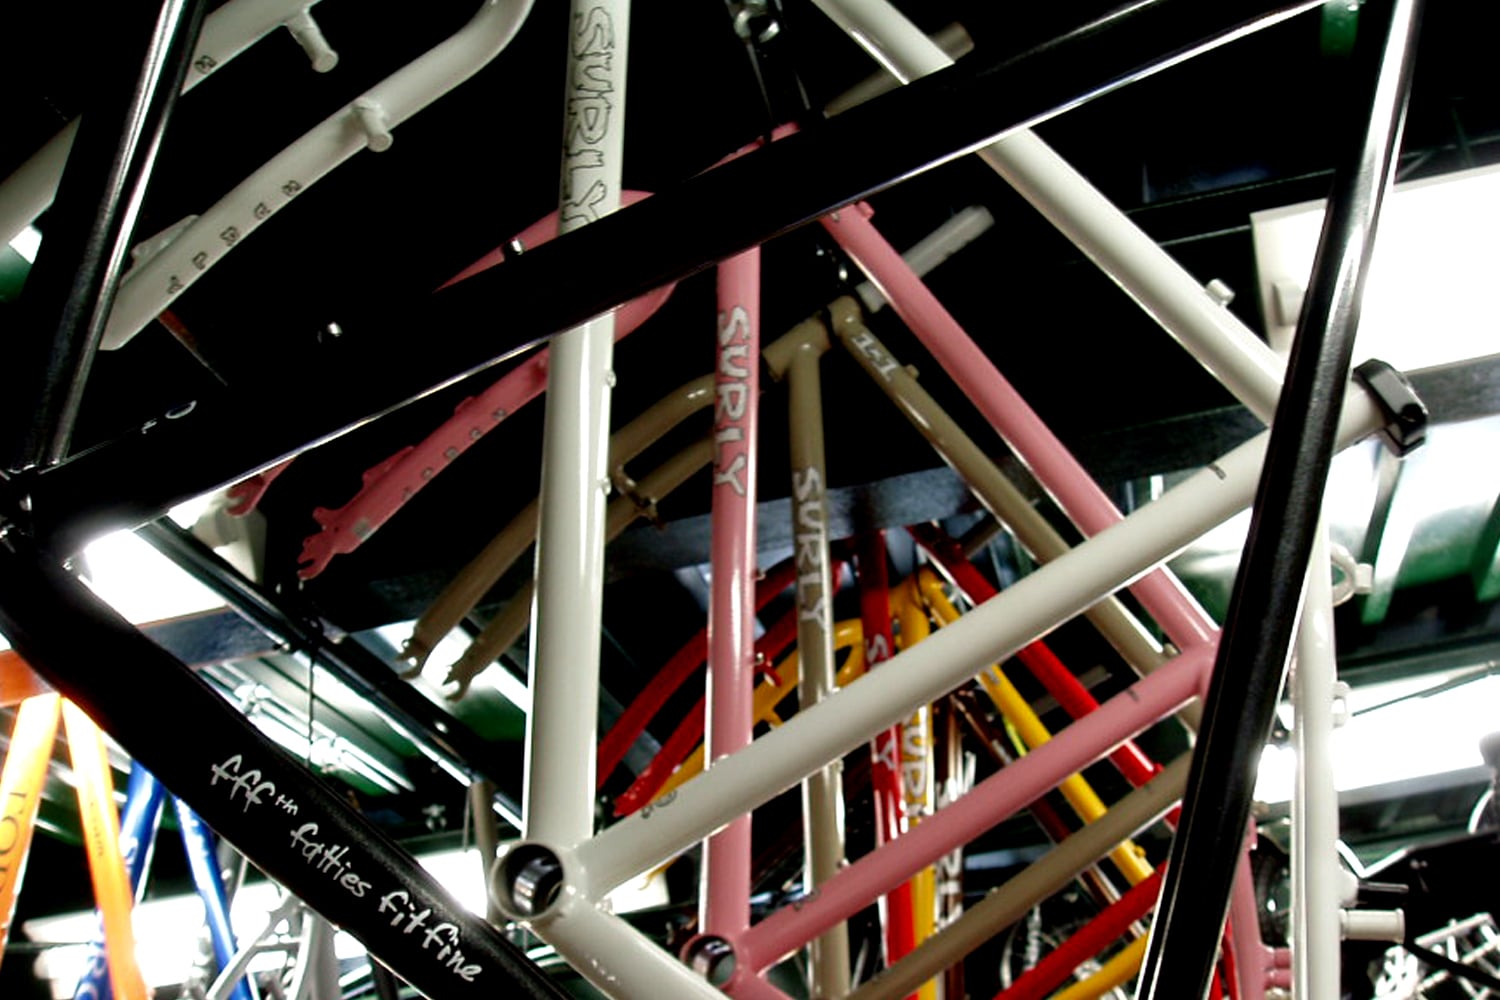
Removing and applying decals on our frames
We do not apply a clear coat over our decals. Except for one brief period a long time ago, we never have. Yeah, your frame’s decals can get scuffed up. But we have never thought scuffed decals look bad. In fact, we see them as a badge of honor, showing that you use your bike. Having exposed decals is kind of nice for other reasons too. For one thing, adding clear coat costs more money and we would charge you that money. Do want to pay extra for that? Great, take your frame to a painter and have him or her add a clear coat. Some folks want their bike logo free to help avoid theft. Others want black decals instead of white, or vice versa. Some people just don’t want advertising on their bike. Some people want to add decals after a new paint. We sell decal kits for all our frame models, in both all black and white with a black outline.
If you should want to remove the decals that came on your frame or apply new ones, we’ve put together this little tidbit with some helpful suggestions. Again, they’re SUGGESTIONS, not gospel. Experience helps. If you know someone who has done this before, ask them to help you. Patience helps too. Go slow, think about each step. You’ll save yourself time, money, and aggravation. And at no time should you use ‘hot’ paint thinners or adhesive removers such as naphtha, acetone, paint strippers, oven cleaners, etc. There is no need to bring a machine gun to a knife fight. Use mineral spirits, Goo Gone, something of that ilk, and use enough to get the job done. And be sure you’re in a well ventilated area.
Removing Surly frame decals:
Use a credit card or a plastic spoon or something else with a somewhat hard edge to flake the decals off. Don’t use anything too hard, because you could gouge or scratch the paint. Use a hair dryer to soften the adhesive prior to poking at the decals with the credit card edge. Once the decal is removed, apply adhesive remover with a clean soft cloth to remove remaining adhesive. Finish with rubbing alcohol or multipurpose cleaner to make it look all pro.
There are other, quicker methods, but due to the risks to your paint, the steel under the paint, and potentially to yourself we have advised ourselves not to share these methods. Don’t ask what they are because we won’t tell you. Just be advised that if you try to warranty a frame that looks like it has been damaged by excessive heat or chemicals, we will laugh in your face. We will probably even say we told you so.
Applying Surly frame decals:
Assuming the old decals are nicely removed, clean the surface with some sort of degreaser or rubbing alcohol. Directly prior to installation of decals the tube surface should be dry and clean of dirt, grease, etc.
Your decals, as they come packaged, are comprised of three layers. The decals themselves are sandwiched by a clear plastic top layer over the decals and a paper backing covering the adhesive on the back side of the decals. The adhesive is quite sticky. Once they’re stuck, they’re stuck, even if they’re stuck in the wrong place.
Place the decal –with all layers intact- in the desired position on the frame tube, eyeing up their alignment on the tube. You might consider drawing vertical and horizontal center lines on the cover layer of the decals, to aid in alignment. Once you have determined the proper position, use tape along the top edge of the decal overlapping to the frame itself to hold its position.
Carefully remove the backing paper, being careful to hold the decal out from the tube. Avoid letting the decal touch the tube! Sheesh…
Starting at the top (where the tape is), at the middle of the decal, begin pressing the decal into place. Apply gentle but firm pressure and work from the middle top (by the tape) out and down. Work slowly to avoid wrinkles or bubbles. These decals are not vinyl…you cannot simply pull them up and start over. Easy does it. Watch what you’re doing. No pressure. You’re doing great.
Once the entire decal has been applied, go over it once more, pressing it down to make sure it is completely adhered to the frame. Beginning at one end, slowly and gradually peel the clear cellophane from the front of the decal. For best results, the cellophane should be pulled at an acute angle parallel to the frame tube. Pulling away from the tube may result in chunks of the decal pulling off, especially if not fully adhered. And this would be bad because you’d have to remove it and start all over.
O.K., rub it a little more to make sure it is fully adhered. Adhesed? Whatever. Crack a beer and stare at it for a little while. Feel all satisfied n’ stuff.
Now go do the other side.