Inspired by the particularly shitty weather on a recent Sunday afternoon I got to one of the many bike maintenance projects I had piling up. Last “season” I had put a few hundred miles on a newly minted pair of shiny but decidedly practical wheels (Ultegra hubs laced to H+Son TB14 rims via DT Swiss competition spokes and brass nipples) when the rear wheel suddenly refused to stay in the nice round shape that we prefer rims to embody. It turns out the seam had “failed”. By failed I mean an insurmountable flat spot developed and could not be remedied with spoke wrenches, magic spells or verbal threats. I contacted H+Son’s state side (QBP) representative and was promptly issued a warranty replacement. To be perfectly clear, I read this situation as a total anomaly and would and will certainly purchase their rims in the future without hesitation. It occurred to me while I was readying my supplies and preparing to tuck into some seriously blissed out wheel building chill time in my pillow strewn, opium den of a living room that I should perhaps use this as a teaching moment to you the peoples of the internet. I learned this trick from a local wheel building “guru” a number of years back while we were getting ready to burn some rubber in and around some of Minneapolis’ finest alleys on a summery Wednesday night. Long story short: Pregame derby shenanigans led to a tacoed wheel the likes of which was un-resurrectable. This master wheel smith, we will call him Reed for the sake of this story, takes a look at it and says he can have a new wheel built in less than 25 minutes. Thus I was introduced to the quick rim swap technique. Quite simple really but mind blowing if you hadn’t considered the time savings between this way to relace a wheel vs. tearing down a wheel and building it back up from scratch. (Note: I do apologize for the crappy photo quality presented here but you shouldn’t encumber motivation when it strikes; I used what I had on hand.)
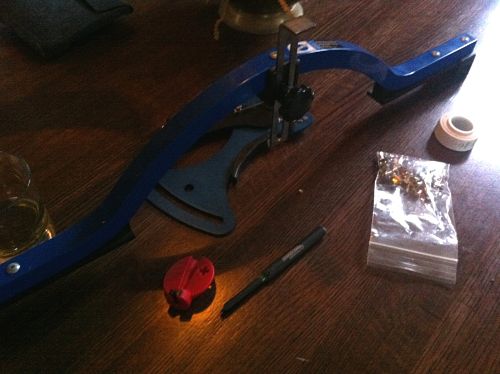
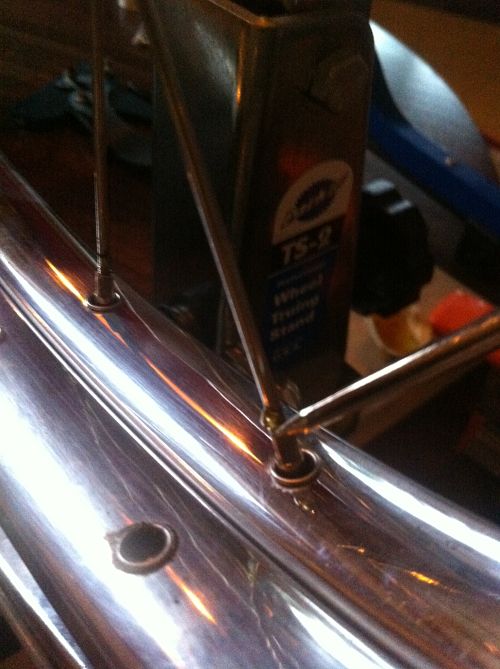
So I got some tools together:
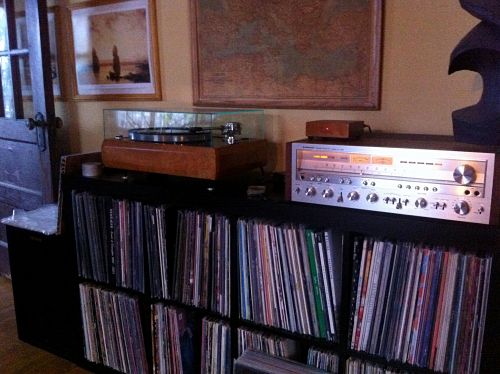
Fired up the Hi-Fi:
And got to work:
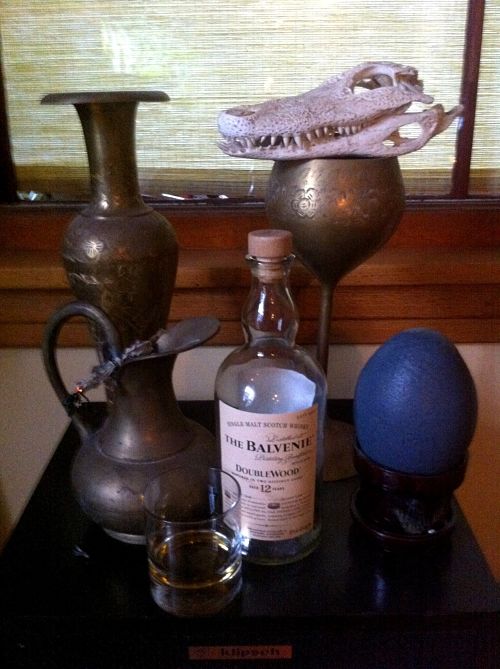
Before you start I might suggest some offerings to the spirits…and/or spirits (of choice).

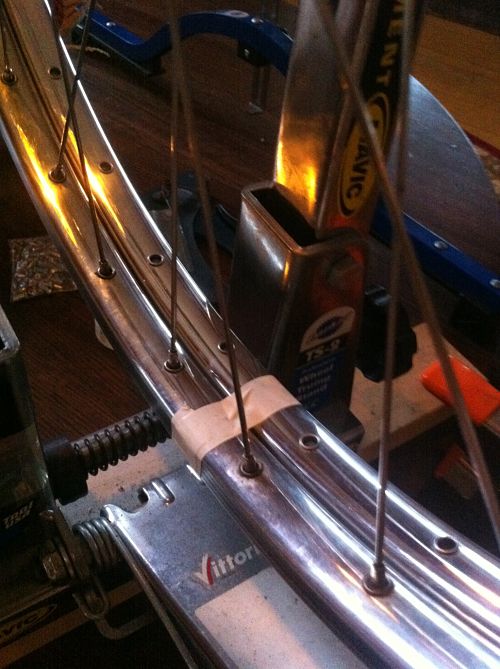
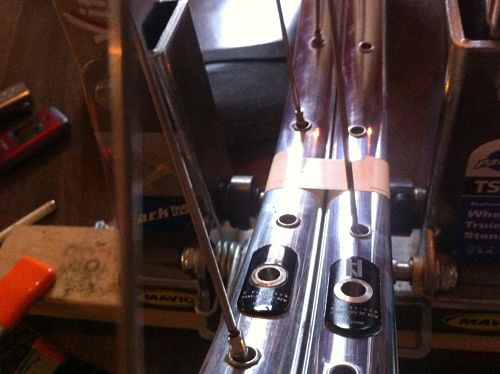
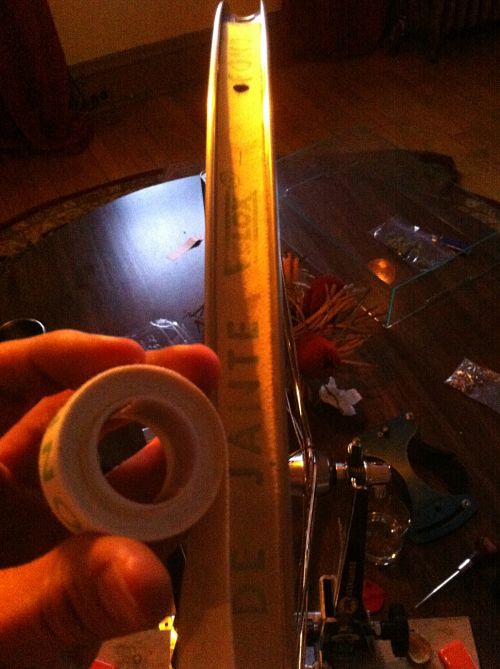
Step one: Tape new rim to dead rim with electrical tape (easy to remove and doesn’t leave a nasty residue). Line up the valve holes and make sure your offset (if applicable) matches. If you relace to the new rim “backwards” your spokes will not be mated to their appropriate offset hole…and that’s no good.
Step two: Detension spokes using a standard spoke wrench. I take em down in two passes just to be safe. You don’t want to drop the nipples out one by one from full tension. Trust me.
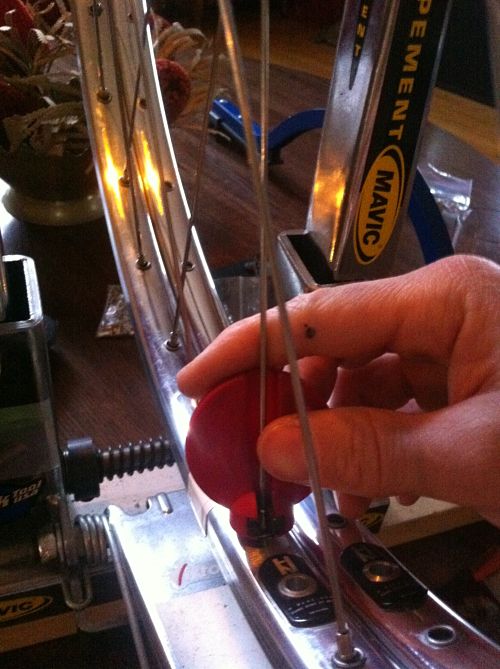
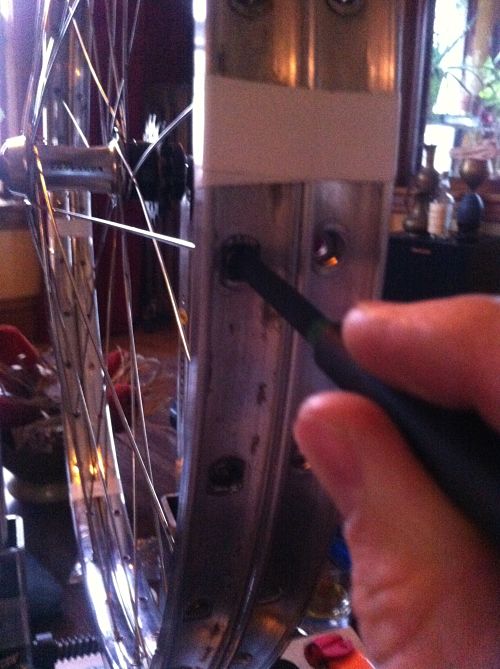
Step three: Using a nipple driver of some sort (I prefer the Problem Solvers “Holy Driver”) back out one nipple at a time and move spoke over to the new rim. I feel that doing one side of the wheel and then the other works best. Secure each spoke with the same nipple you just removed by threading it on half way. This is a great opportunity to replace bent spokes, stripped nips or swap those colored alloy nipples that you mistakenly thought were cool for some brass ones.

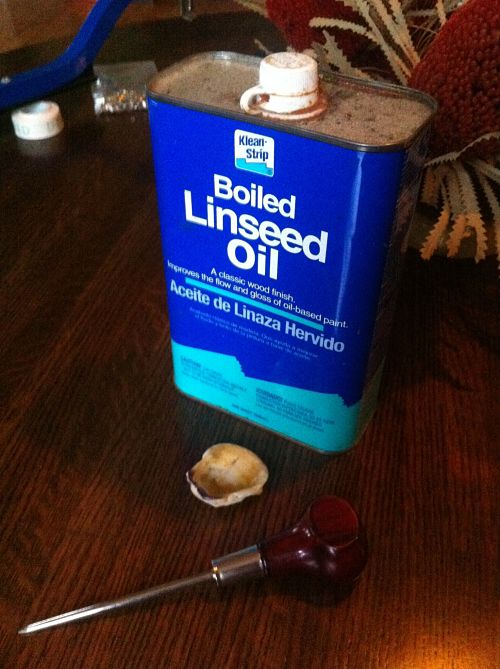
Step four: Add some thread lock if you are so inclined. I prefer linseed oil as it lubricates while you are tensioning and later locks your nips in place after it has cured. I do this by pouring out a small amount in a small sea shell and dipping a sharp object in the oil; collecting a small bead for each spoke. Touch the tip to the threads above the nipple and watch as the oil drains into the threads.
Step five: Using my Holy Driver, I tighten all the nipples onto the spokes until the driver backs off. This gives me an even starting point to begin tensioning the wheel. I saw Reed do this step and step three with a power drill and a nipple driver bit. It took him less than 2 minutes to make one pass on the wheel.
You can now remove the dead rim if you haven’t already and set it aside for recycling or some hippy dippy art project. Also bums and scrapers will collect your old rims if you put them in a pile in your alley.
Step Six: Bring up to proper tension while occasionally relieving stress on the spokes (see “Seating and stress relieving the spokes”). Some might argue that the spokes are already seated and thus don’t require subsequent stress relieving but I say “meh, why not just do it?” Finish your wheel with a high quality rim strip and pour yourself a celebratory libation.
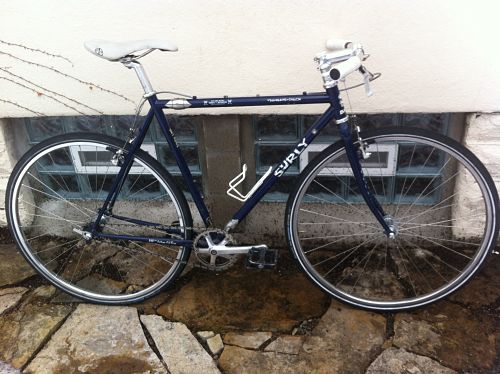
My trusty and dusty, but never musty, Traveler’s Check is back in business!
Did I mention that this was a SERIOUSLY MELLOW day? Grouper provided my soundtrack:
About $Trevor From Where Ever

T$ was born and raised in MPLS, MN. He does not own a car, opting instead for bikes and motorcycles to get around. He has a wide and varied taste in music, and once when he was young he filled a Super Soaker squirt gun with hot coffee and sprayed strangers on the street just for fun. Trevor manages our demo fleet, implements sales initiatives (acting as special concierge to many of our fine dealers) and tours the western reaches of the states in search of high adventure and intrigue.