So you just bought a Ogre… Stock complete, fresh outa the box and you decide; because the weather is grim, your pink bits are frostbitten and the ground is a sloppy, salty slush soup, that you want to mount up some full coverage fenders. “Sweet!” you think to yourself, “This should be a breeze”…
You pedal on over to your local bike shop and select what they have for your chunky 29x2.3” meats, likely a set Planet Bike “Cascadia 29ers”. Good choice and plenty of hardware to get the job done even if your bike is a little…How do we say, eccentric(?)
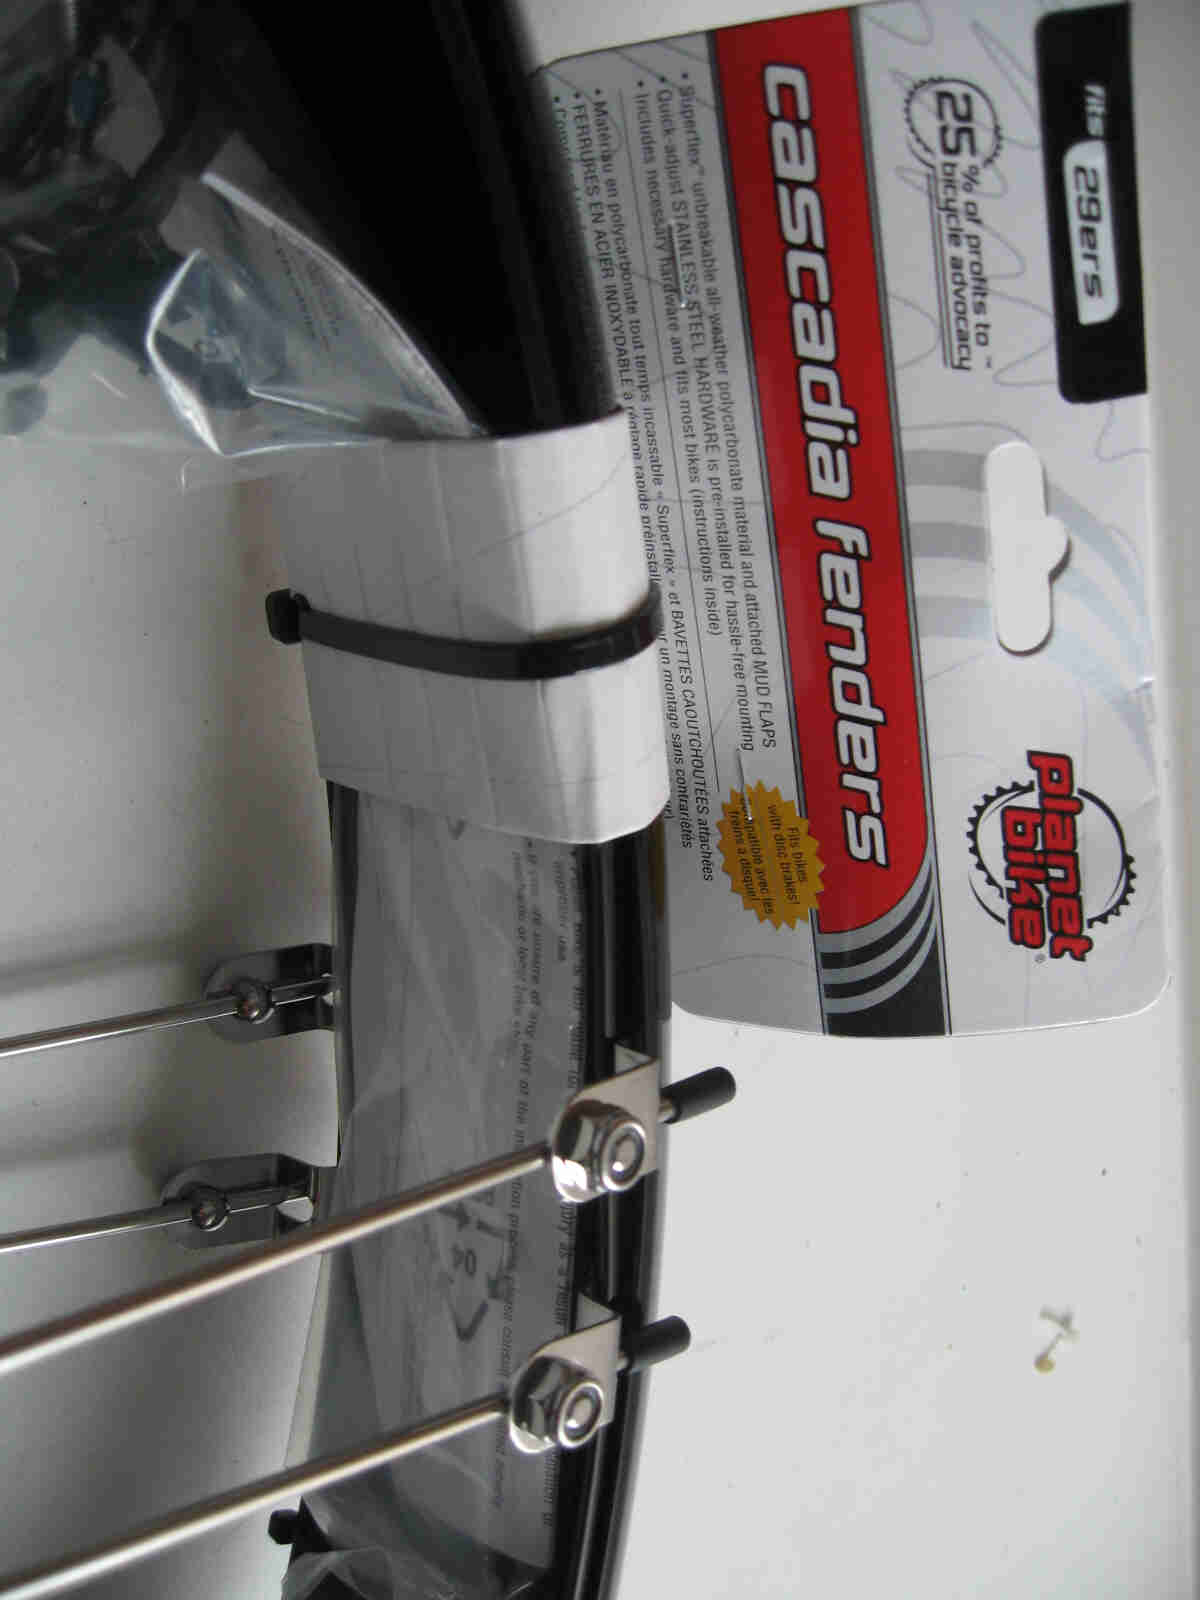
Nice thing about these fenders is the ample hardware to get your fussy rig situated.
So you crooze home with a quick stop at the bottle shop for a 6 pack of hand stabilizers so you don’t drop your fasteners all over the place. You throw your bike in your stand and tear into it. “Crap!” You realize after trying to mount one fender and then the other: “This shit isn’t fitting the way I imagined! The front derailleur and cable are preventing proper snuggage of the rear fender and the front fender is just all sorts of not-fitting at all! I thought I was going to spend 10 minutes on this and then be out the door, heading across town to that metal show my coworker told me about.” Well, don’t fear, you can still make it to the show. Just take stock of the tools you will need and I guarantee you won’t need any additional hardware…er, just an additional component or two (could mean a trip back to that local Surly dealer). But! These may be bits you already have in your parts drawer or on one of your other 7 Surlys. It won’t be too complicated…aren’t you glad you stopped off at the LQ?!
Dang! Not enough room Captain! (Wheel slammed forward in dropouts)

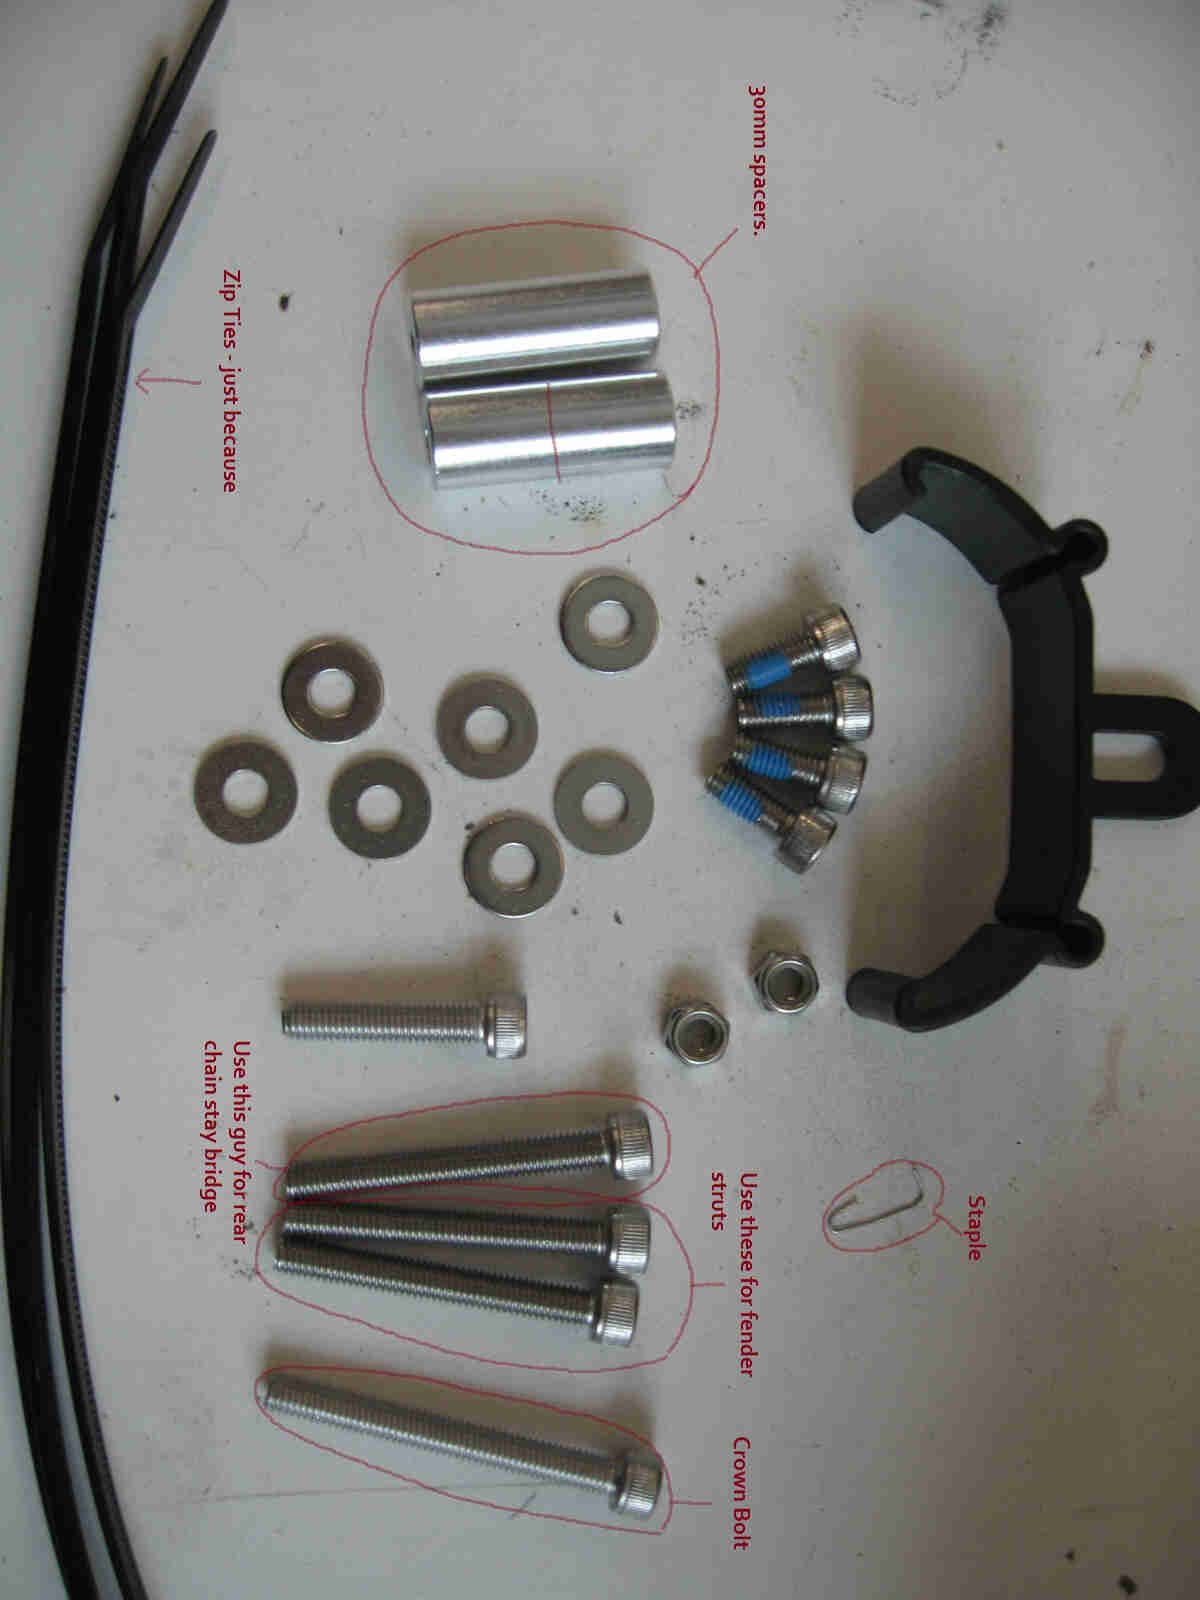
Tools: 5mm, 4mm and 2.5mm hex wrenches. 10mm and 8mm box end wrenches. 4x Surly “Monkey Nuts” or Surly “Tuggnut”. Other “essential” tools not pictured that will come in handy: Heavy wire cutters (to clip your extra strut length down), Hacksaw “Jim Dugout” (cutting a spacer in half if need be), Flasky (enabling fluid), back issue of “Popular Mechanics”, vice and file (also for cutting).
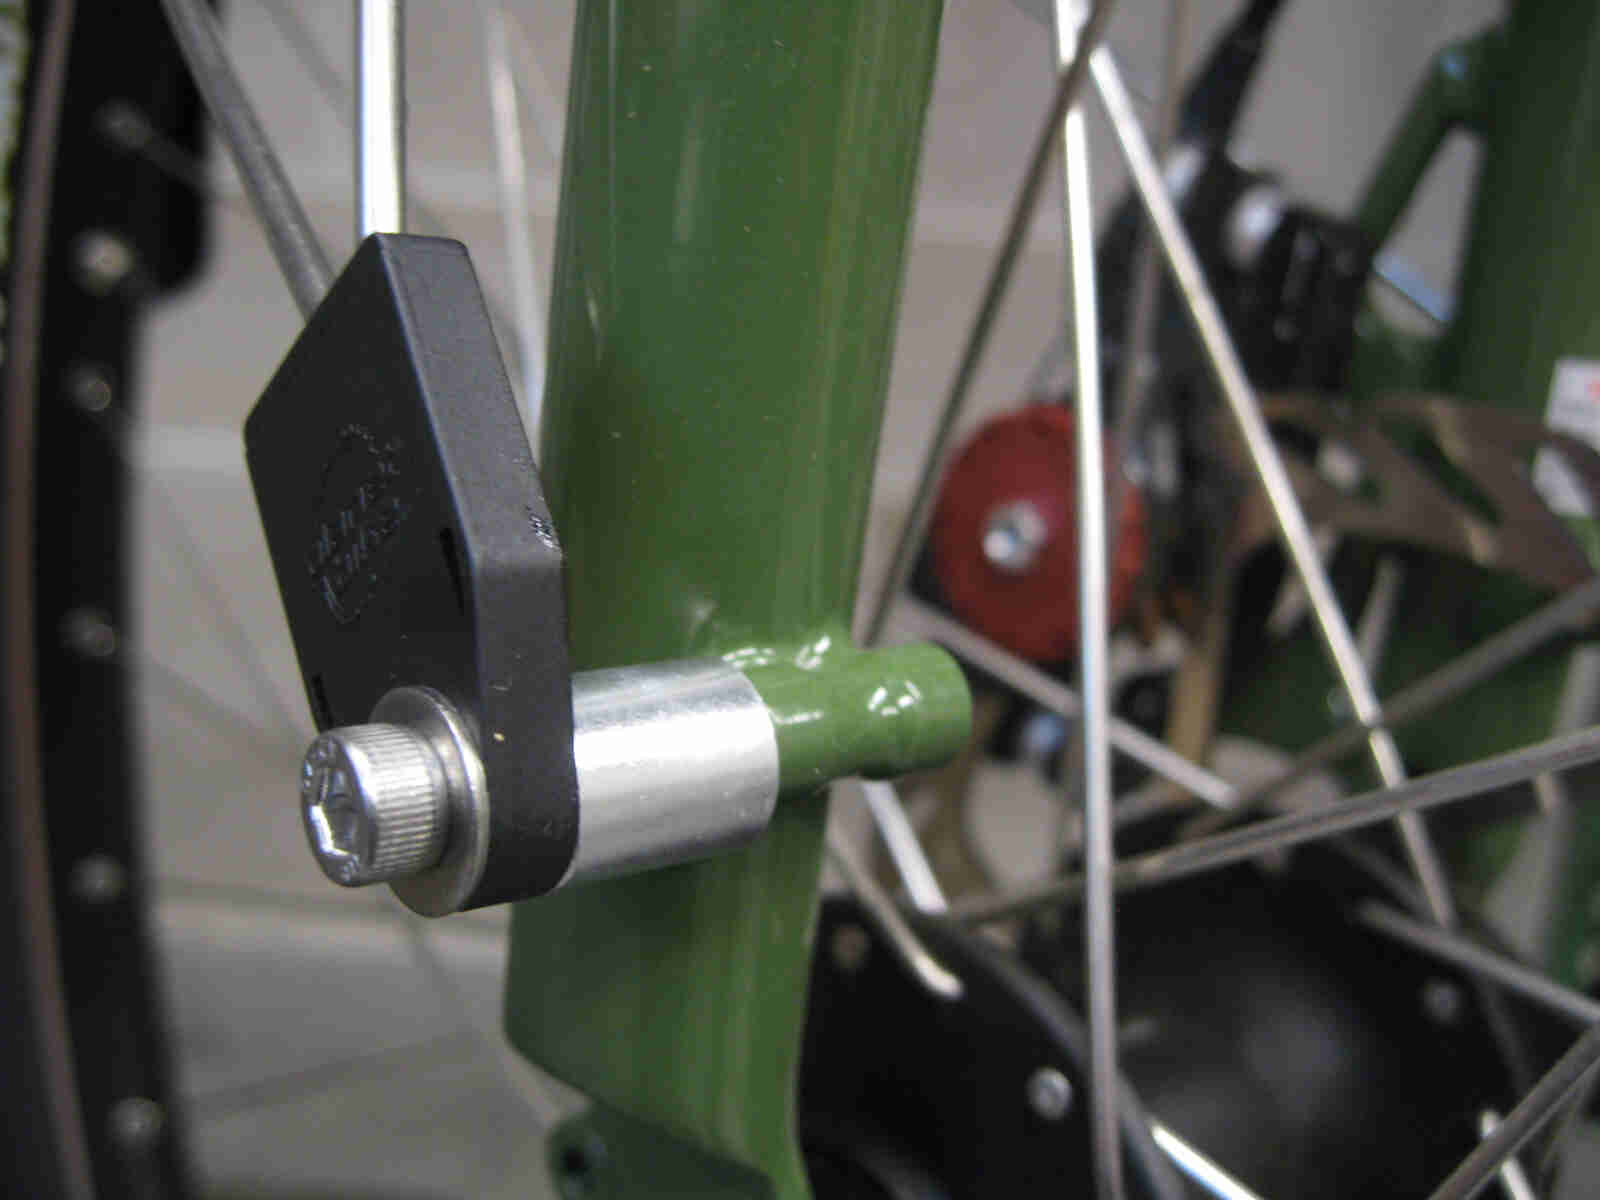
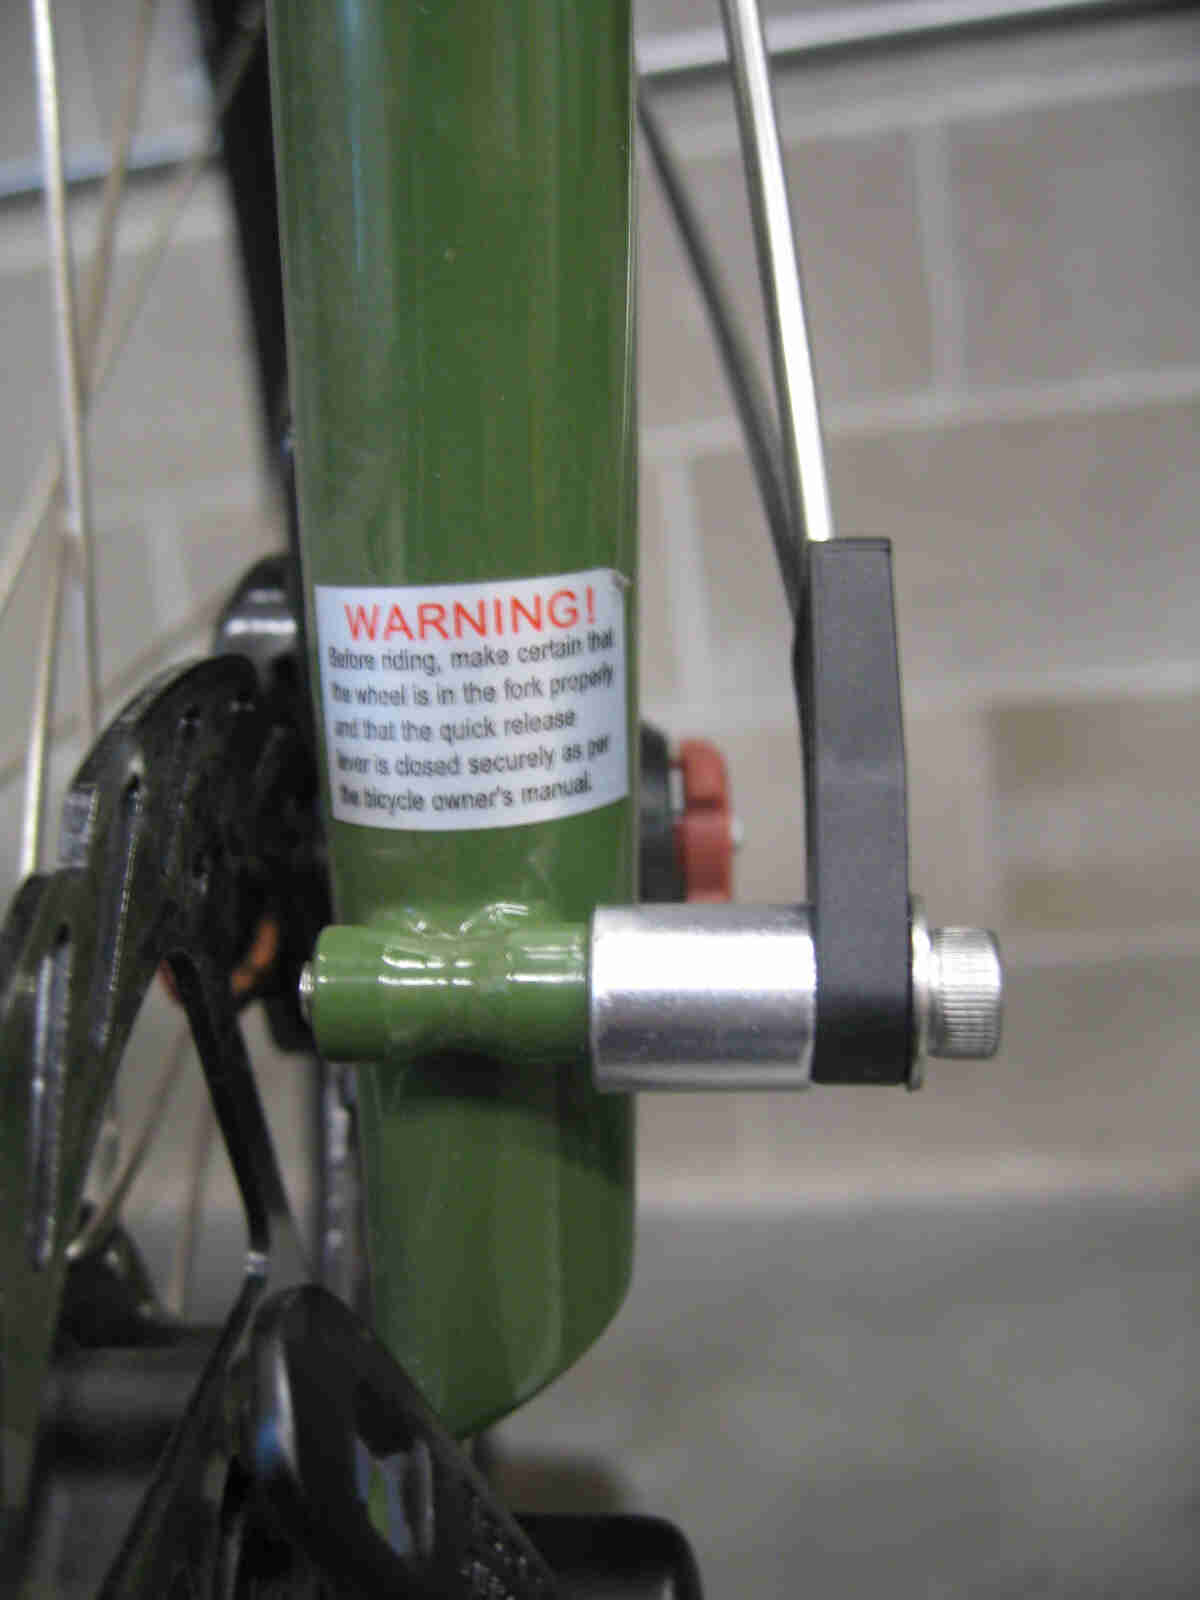
Let’s start with the rear first shall we? I always start there. Remove the rear wheel and M5 bolts from the seat stay and chain stay bridge. Because the fender will have to move back nearly and inch to clear that front derailleur, you will want a proper way to stabilize that axel so you don’t pull it sideways when you come sprinting home from the bar later that night and stack it into a parked car. This will require you using either of two methods: “Tuggnut Mcgraw” or “Double Monkey Nuttage”
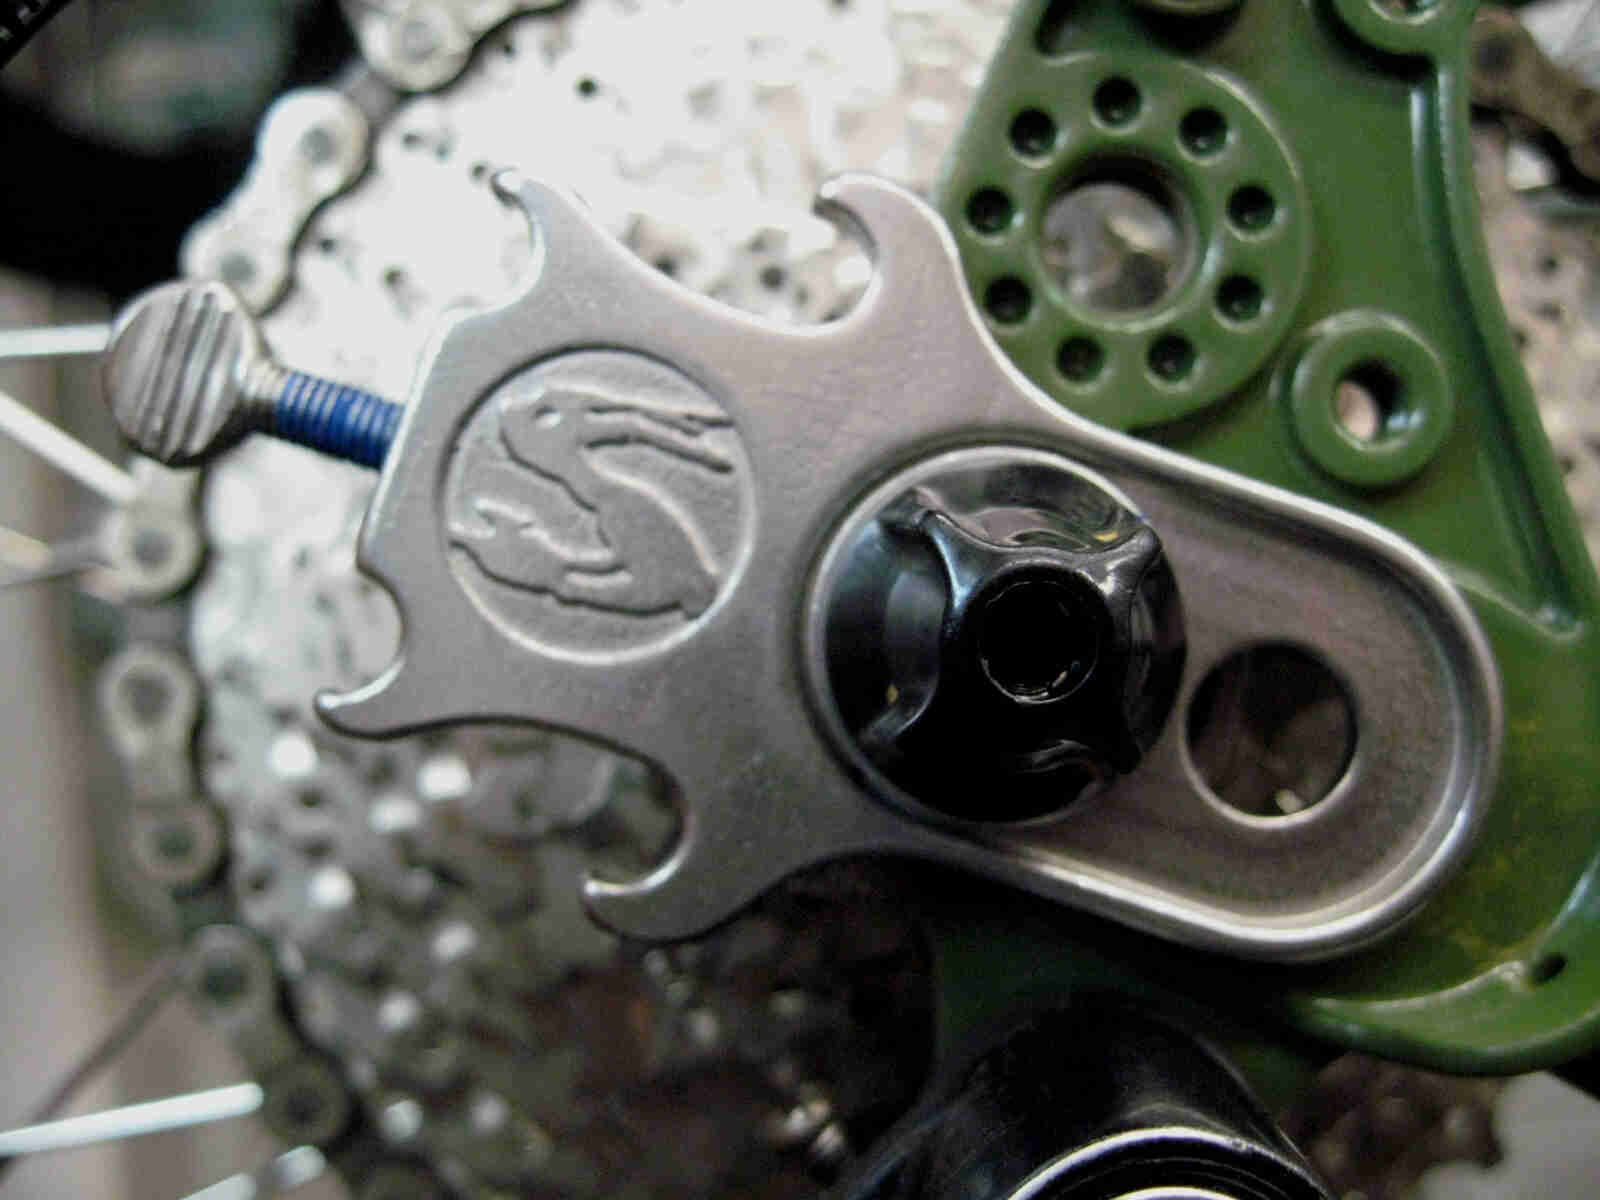
Tuggy or Nutty? Tuggy is simpler, cheaper, allows a better axle position and also opens beers on the fly. Nutty looks clean but places your axle pretty close to the end of the dropout. Note: The further back your axle is; the less smooth your shifting will be.
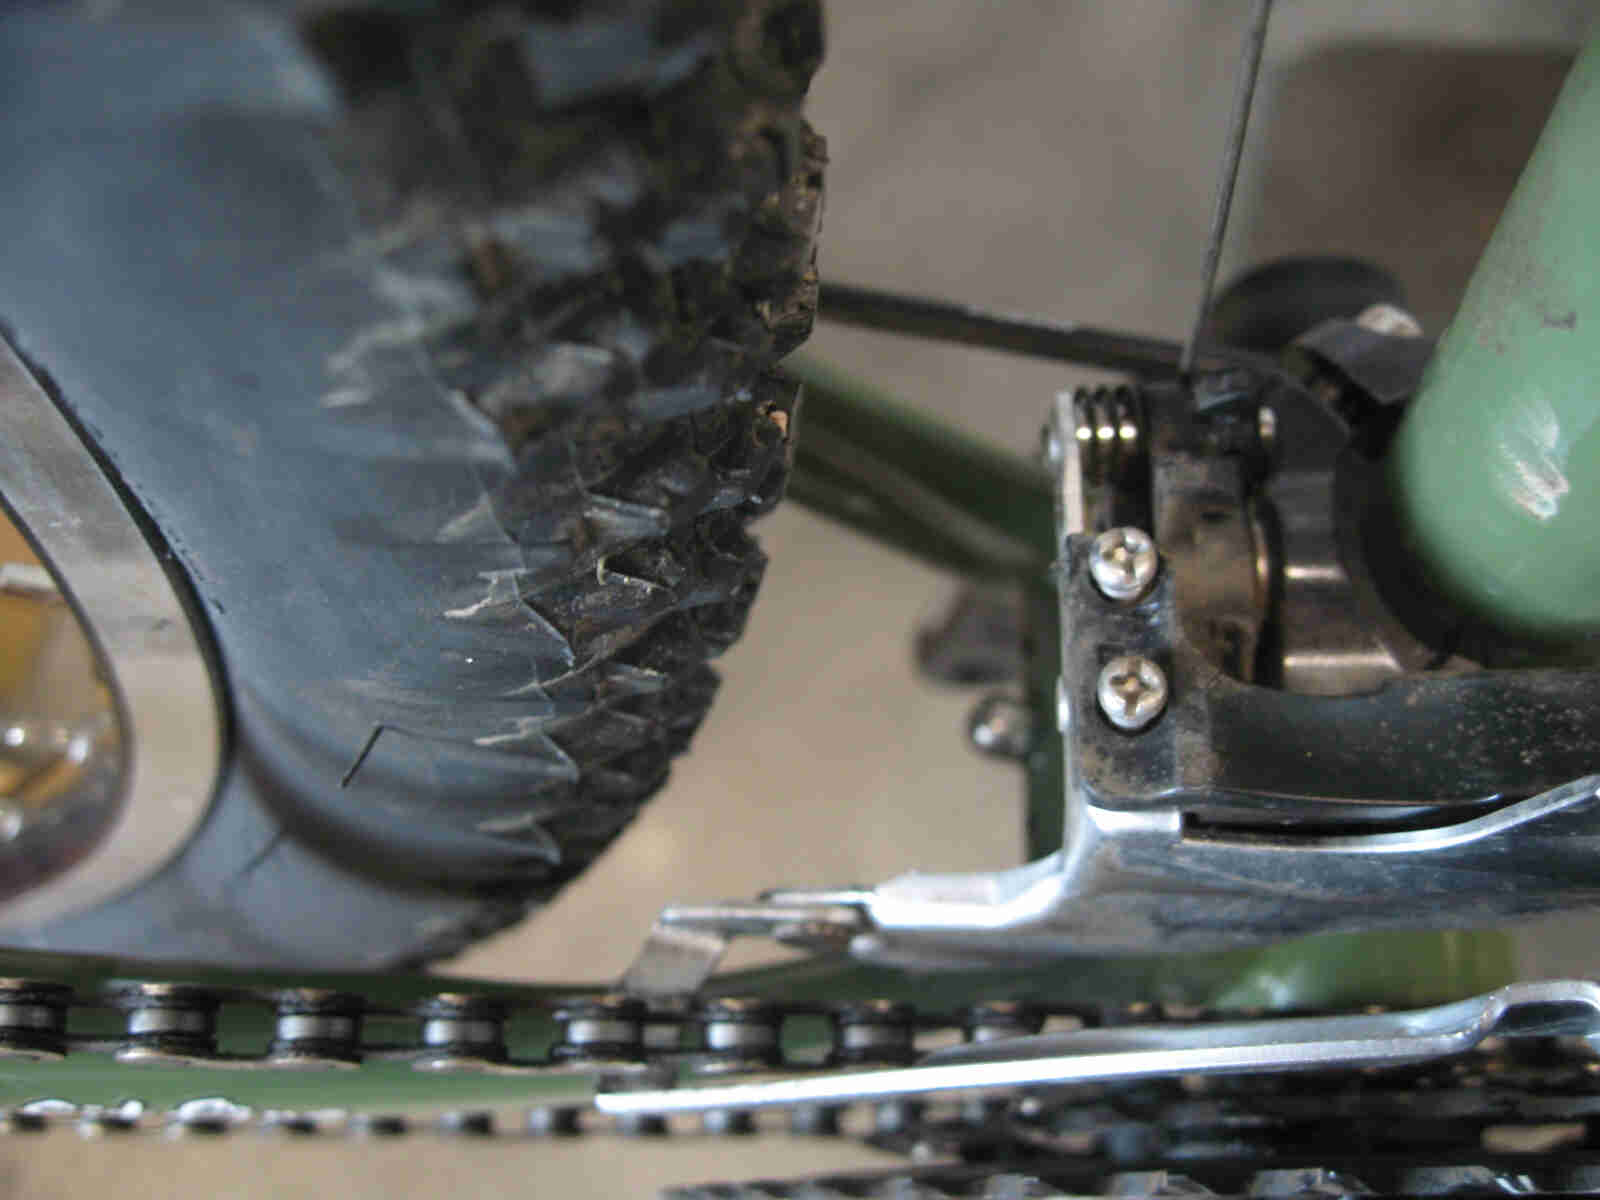
with the wheel pulled back about 24-28mm you will now have plenty of fender and mud clearance.
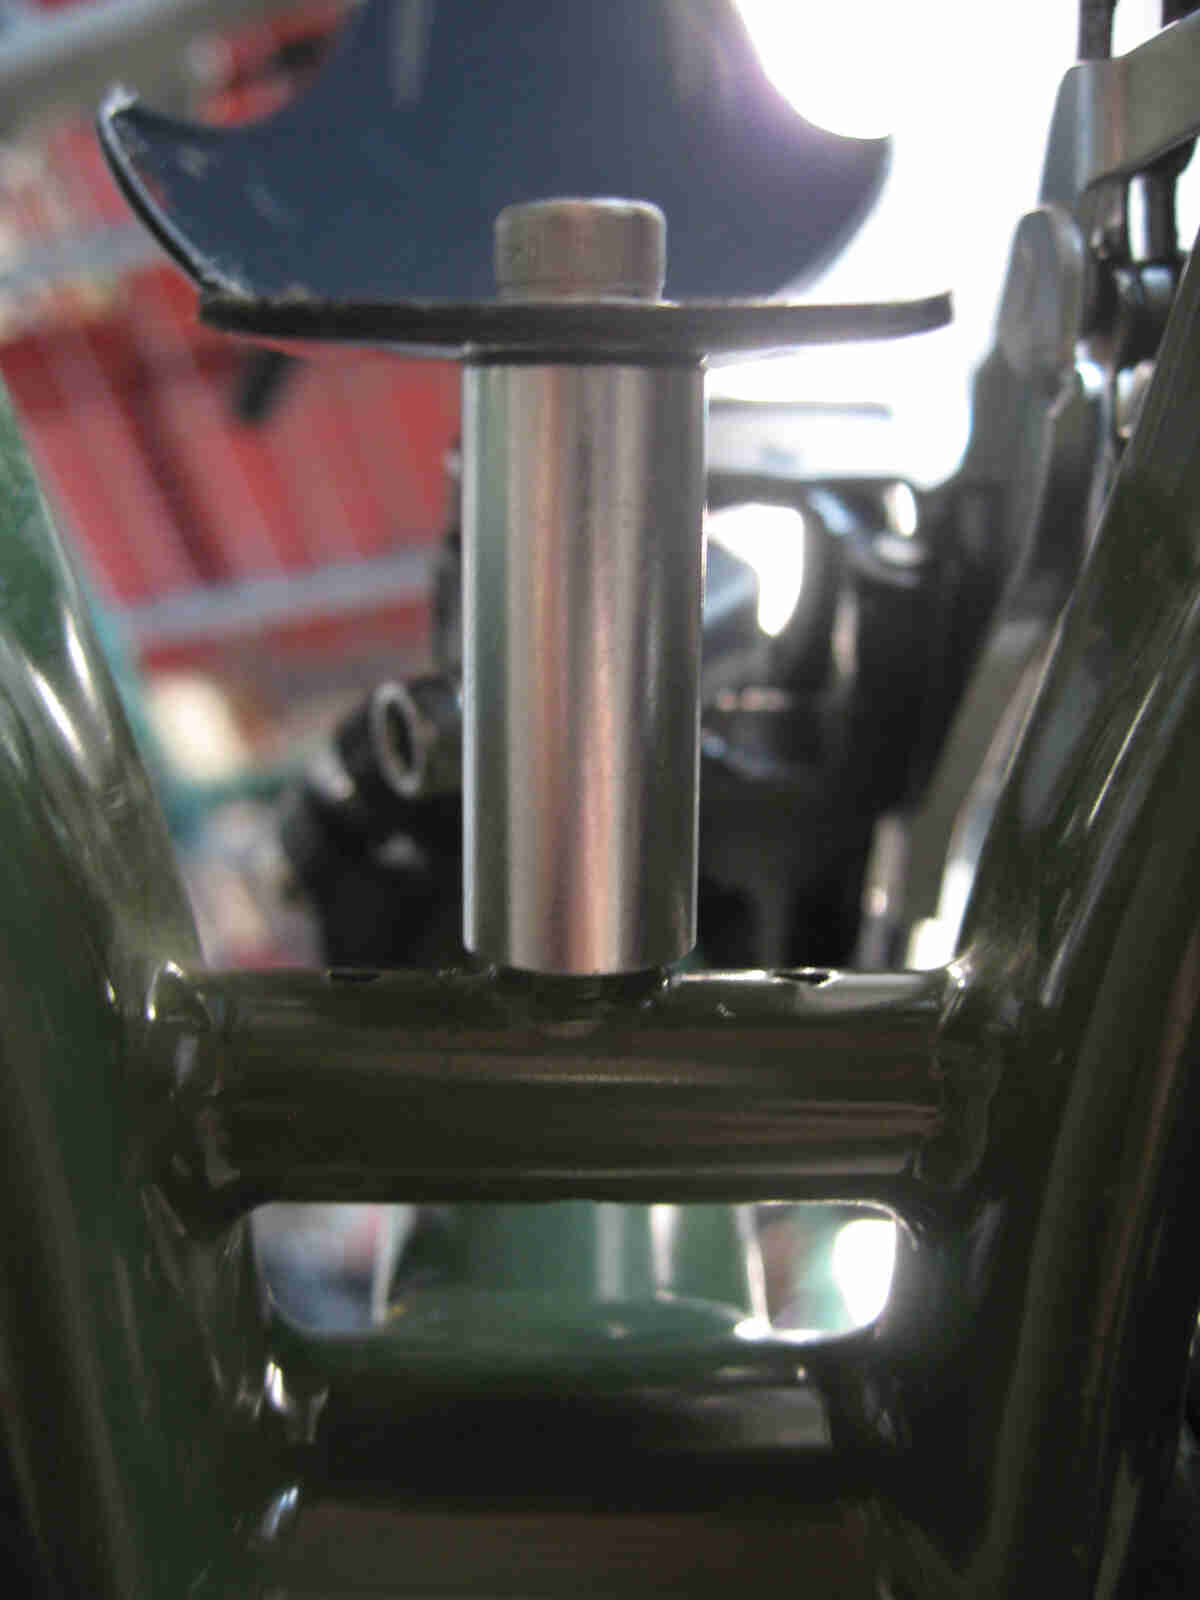
Using one on the 30mm spacers, mount up the rear fender loosely so you can center it all correct like once you get the wheel back in place. Grease your threads for feck’s sake and read those instructions provided with the fenders!
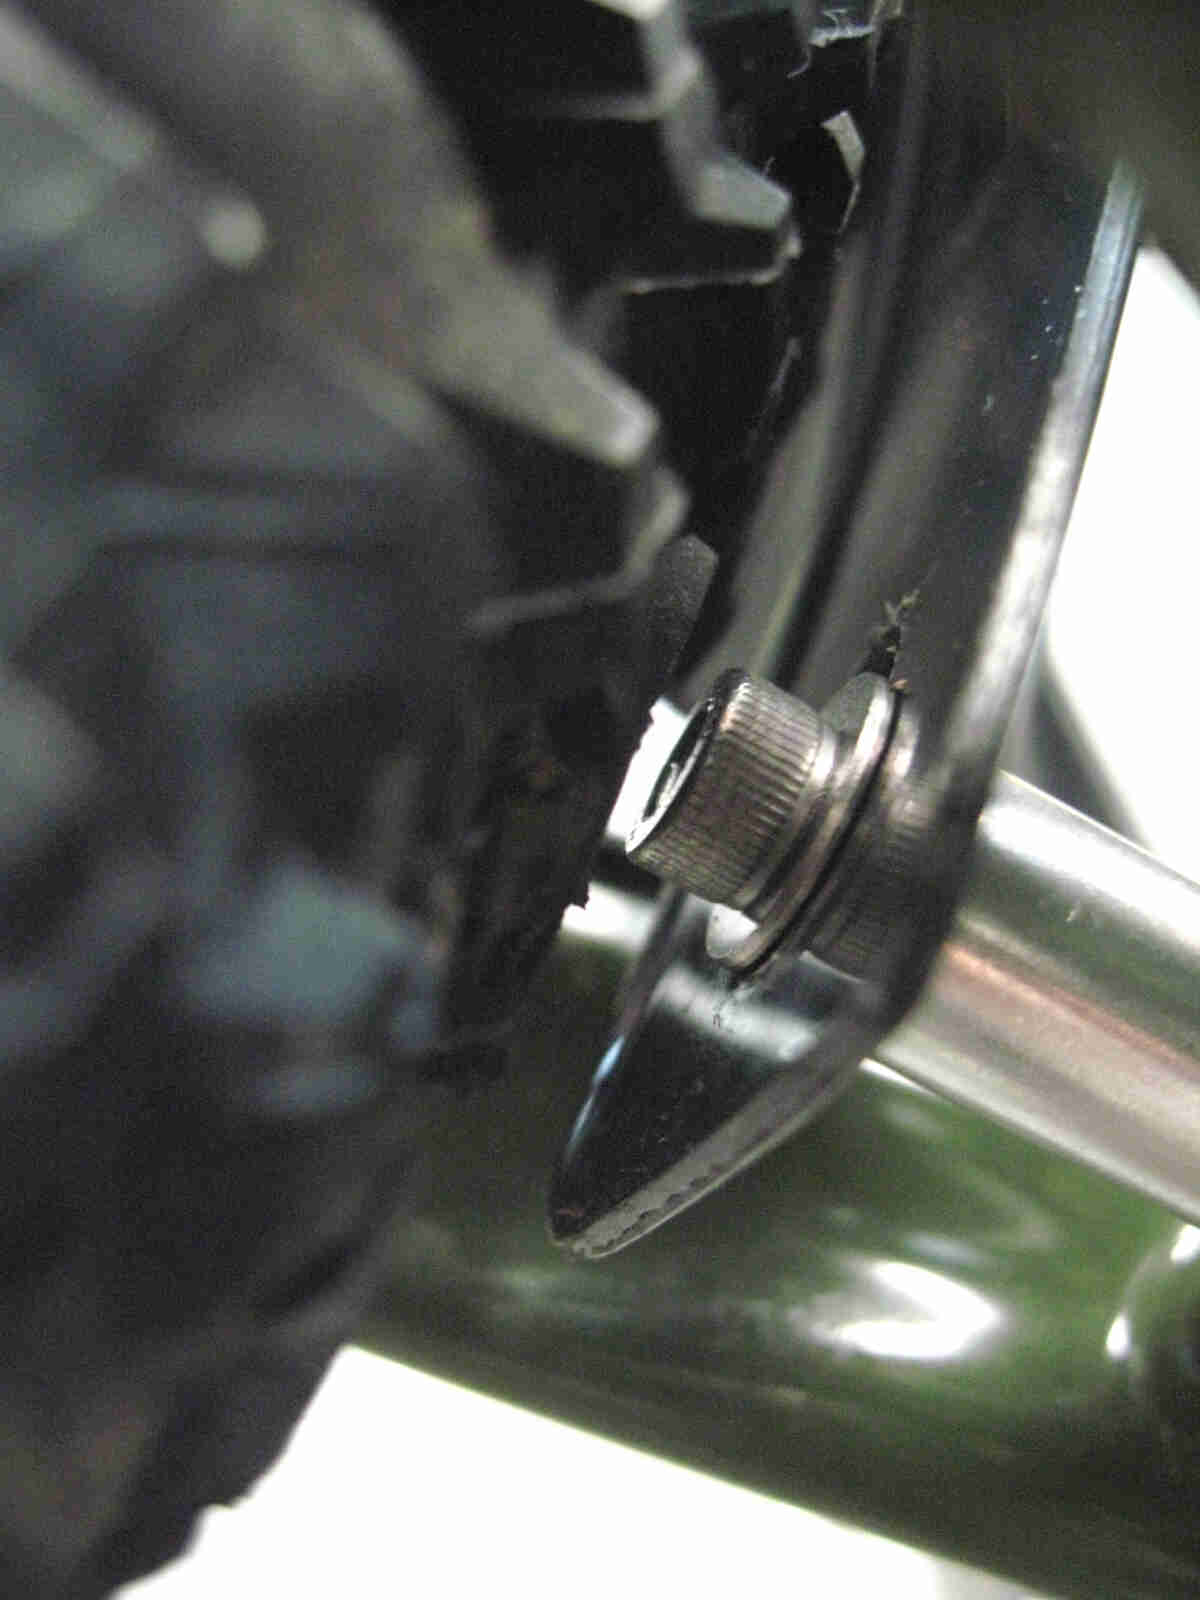
Using Tuggy I can snug this wheel fairly close to the front of the fender. A panhead 40mm bolt would be nicer.
Plenty of Clearance Clarence.
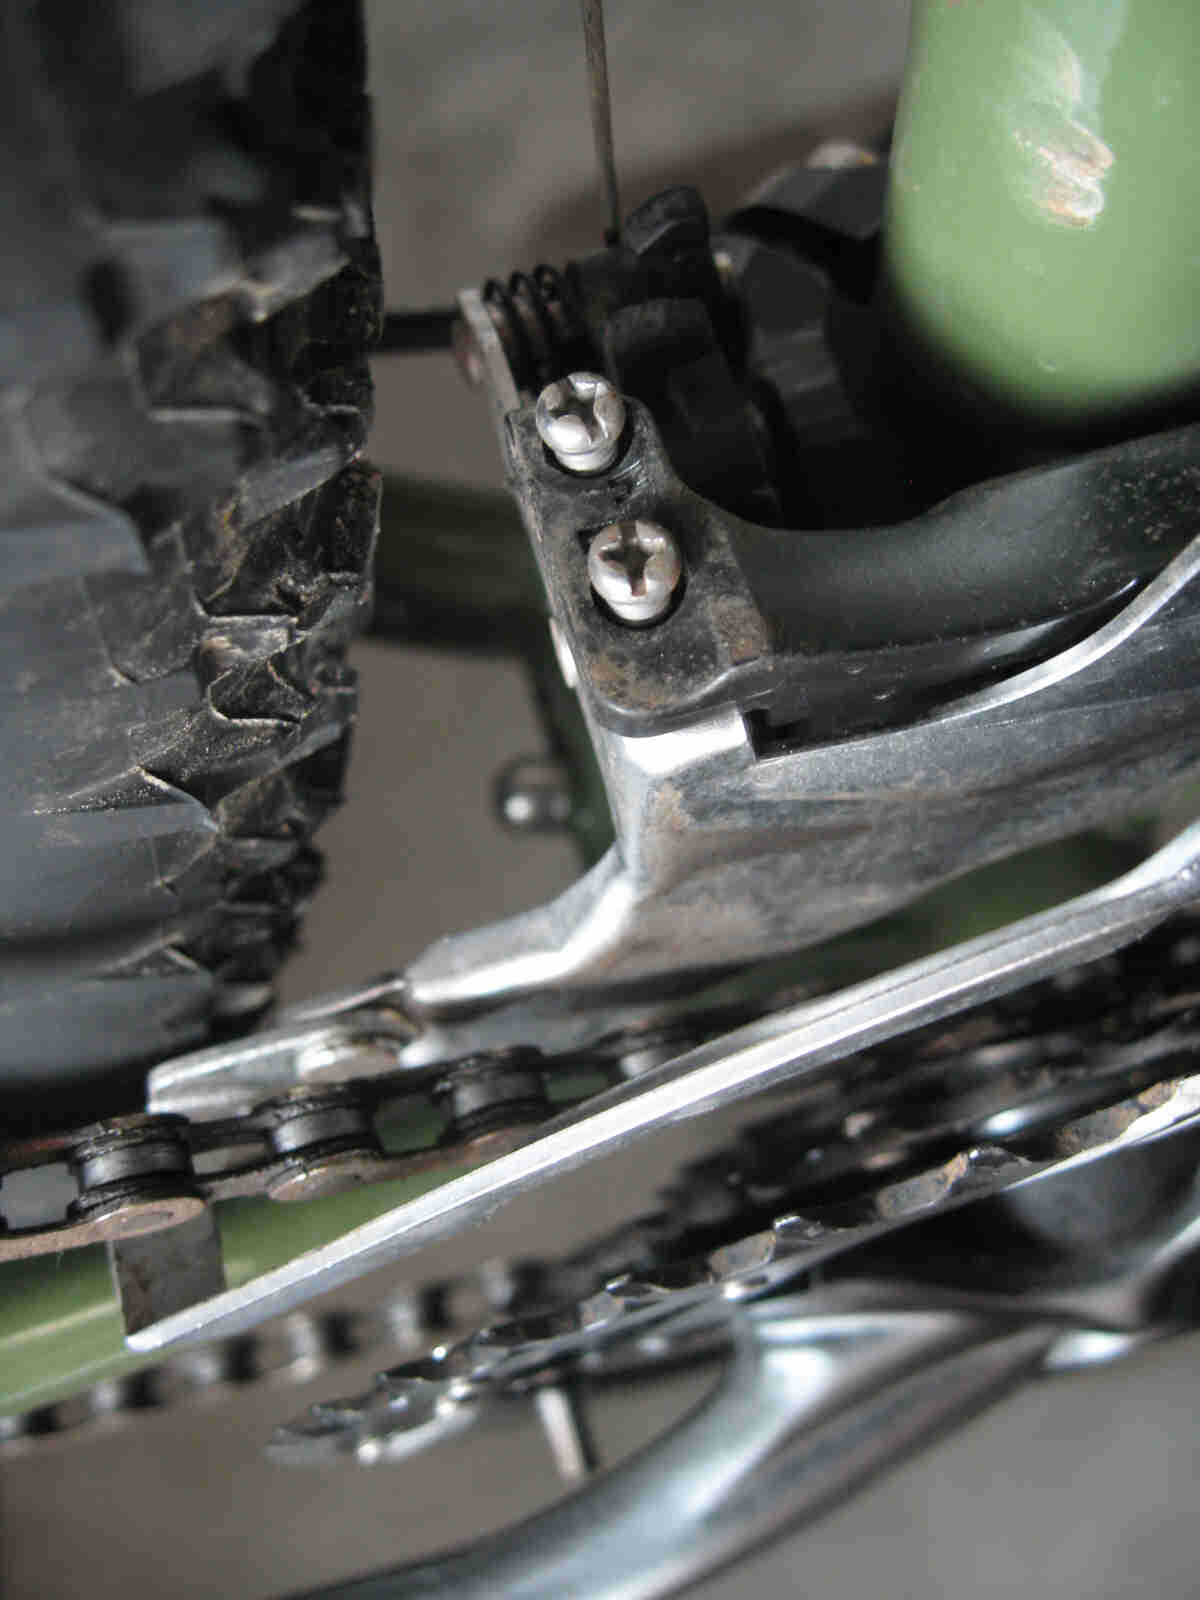
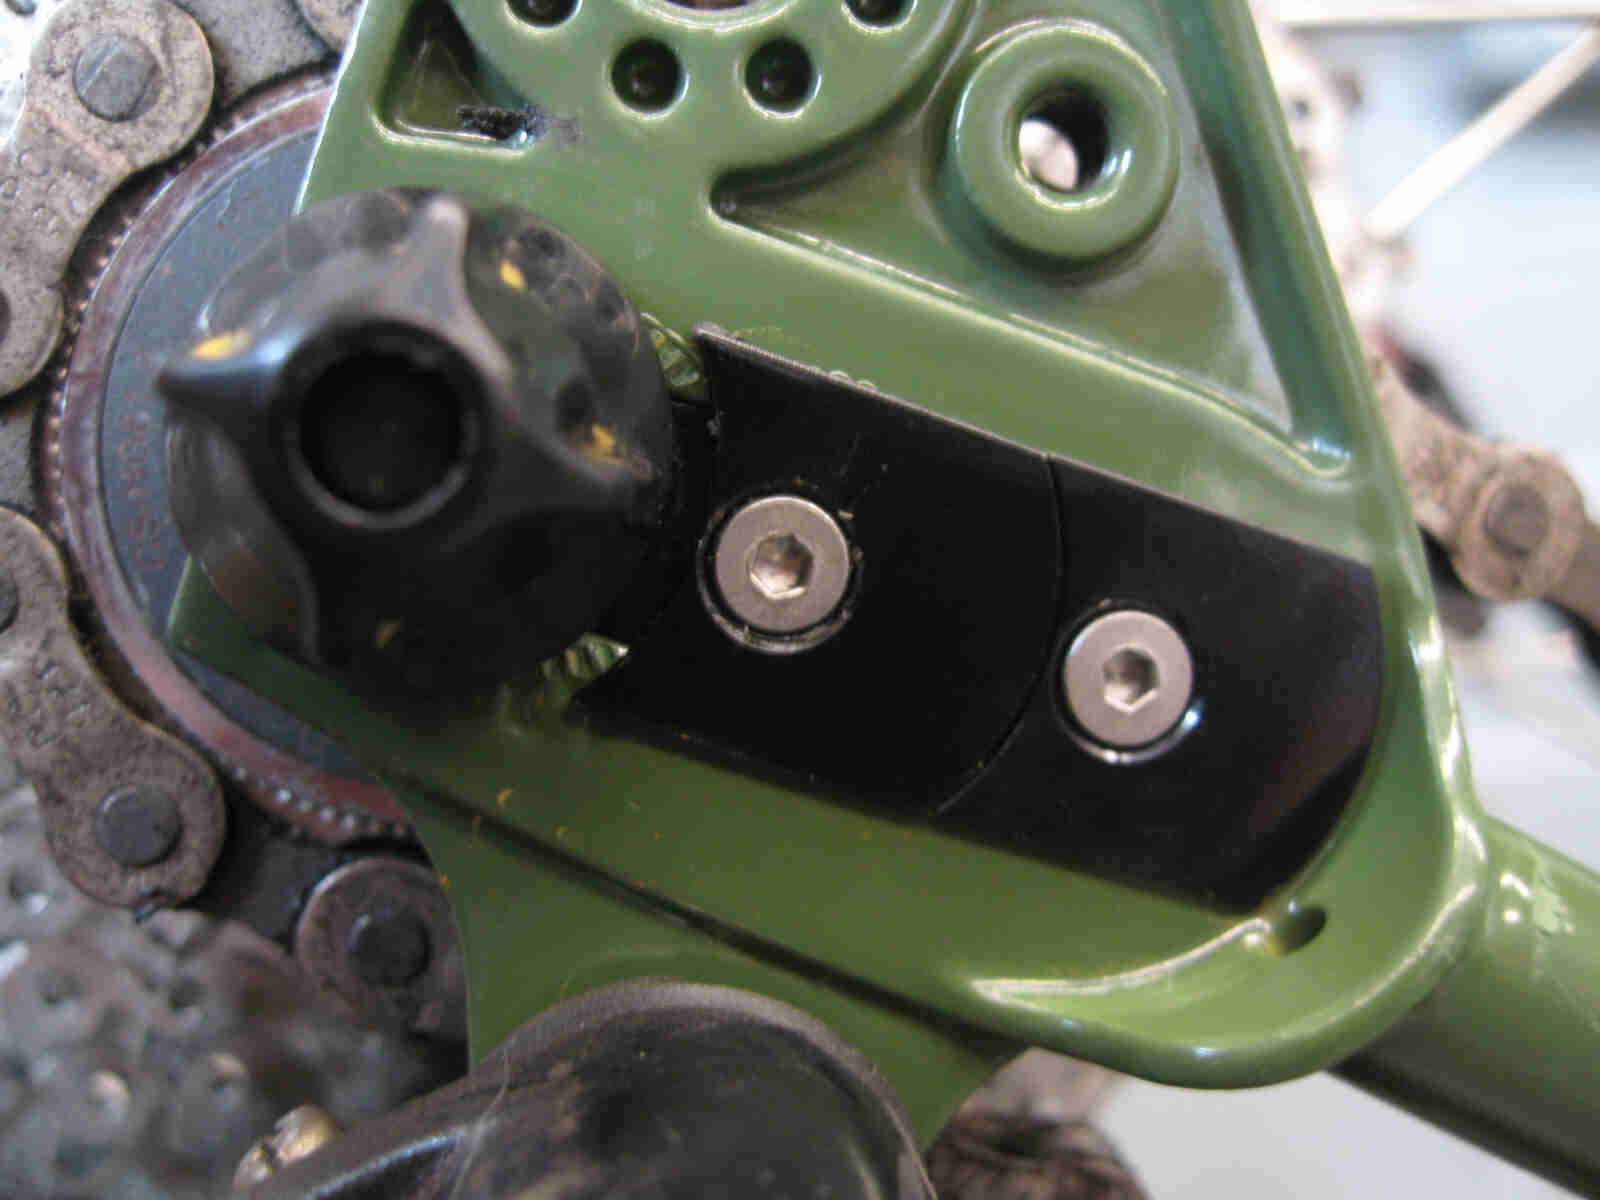
Once the rear wheel is back in place you will want to adjust the rear brake caliper position as you will find that it is not grabbing as much rotor as it used to. Slide that baby almost all the way back, center it to the rotor and tighten back down. Now go through and tighten down your fender hardware minding the manufacturer provided torque spec (if you are so “analy inclined”).
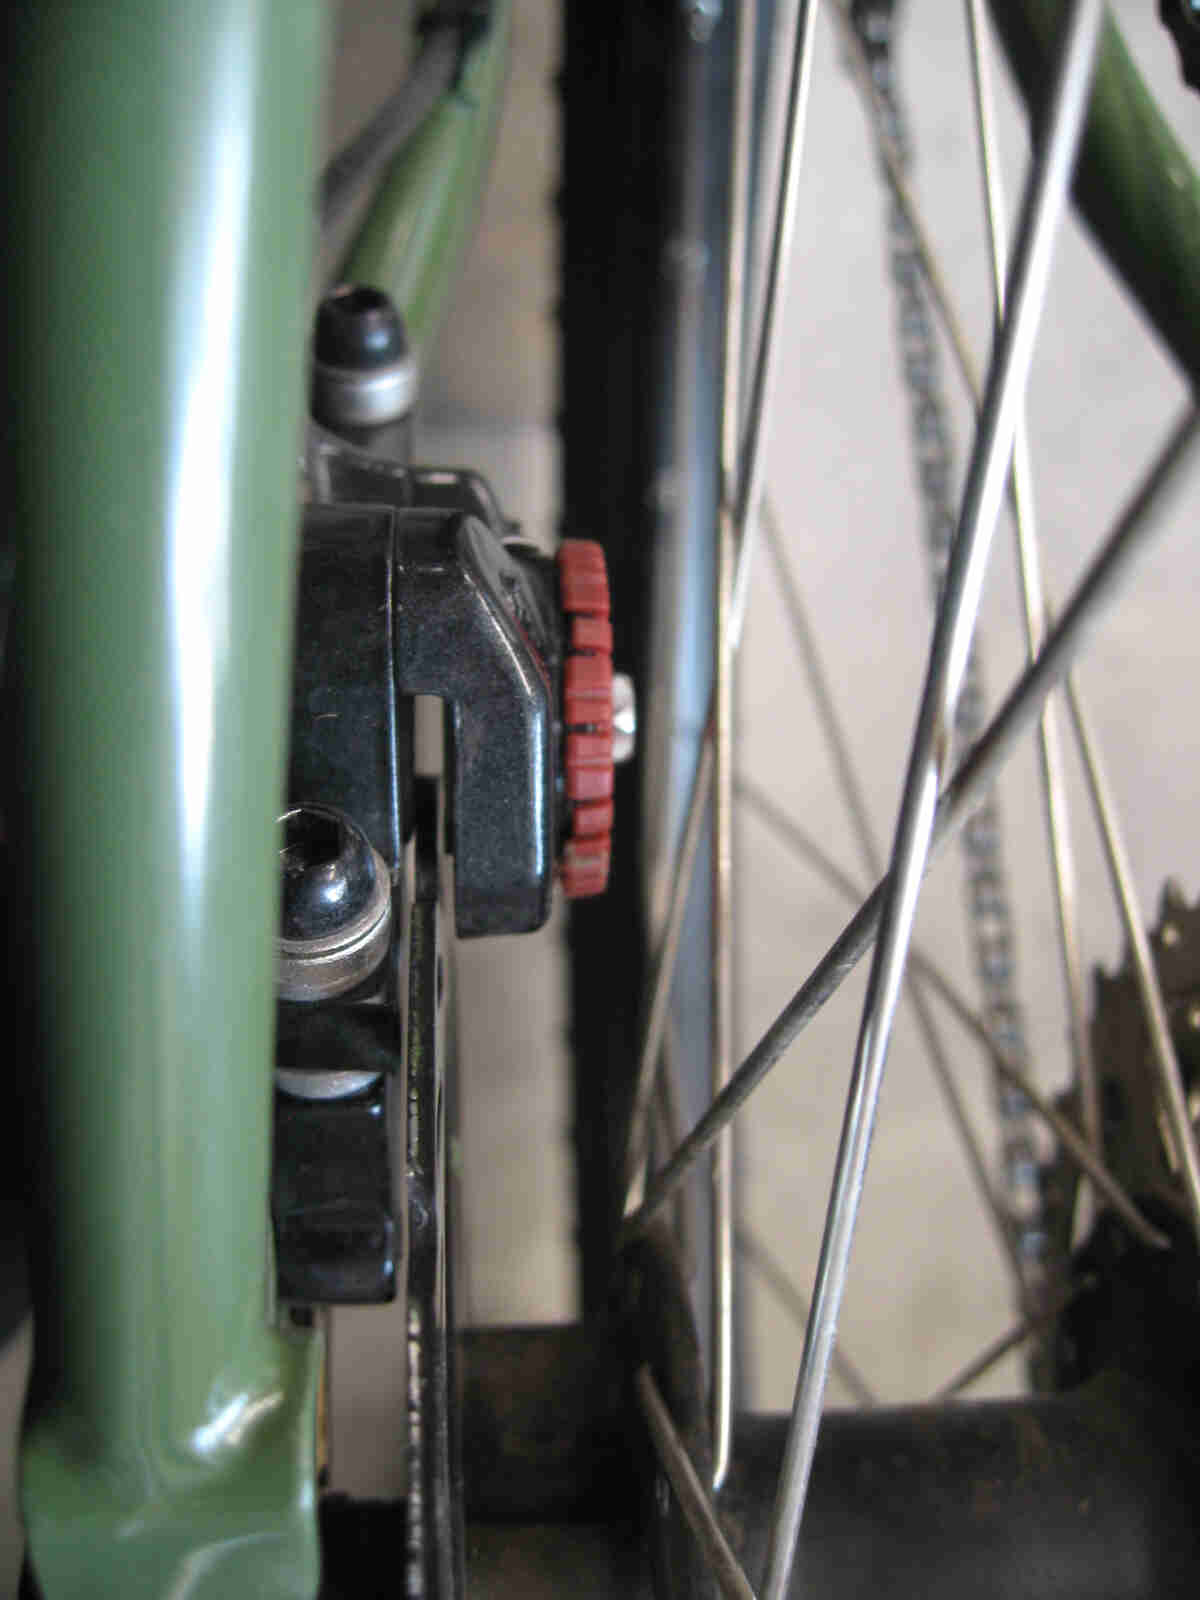
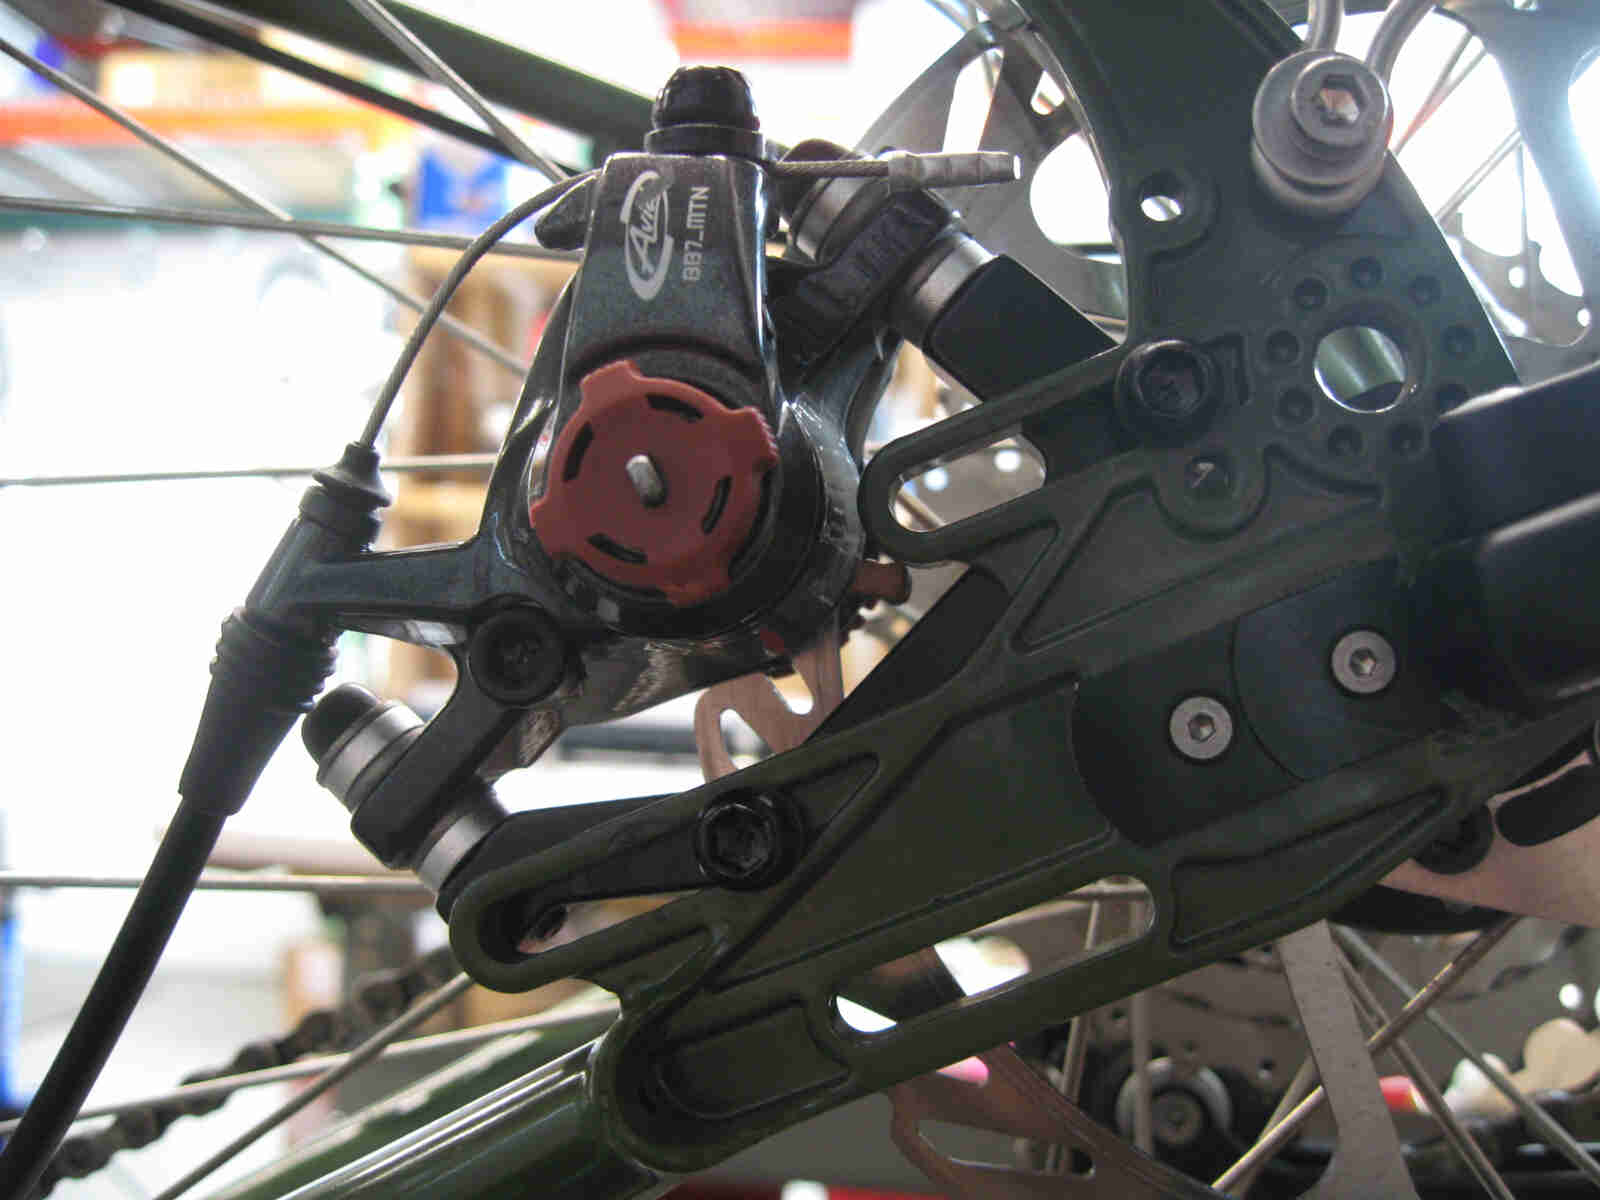
Before and after brake adjustment.
HOLY BUTTER BEANS ON A CRAP CRACKER! You are almost ready to go to that show. One more fender to go! The front is wonky in two ways: It sits real high off of the tire and the struts don’t want to mate to barrel mounts, also that disc caliper is kinda in the way. If you have the means to do so, cut the other 30mm spacer in half. This will allow you to clear the fork blades and caliper. A few presta valve nuts can do the job if you have no proper way to make a cut.
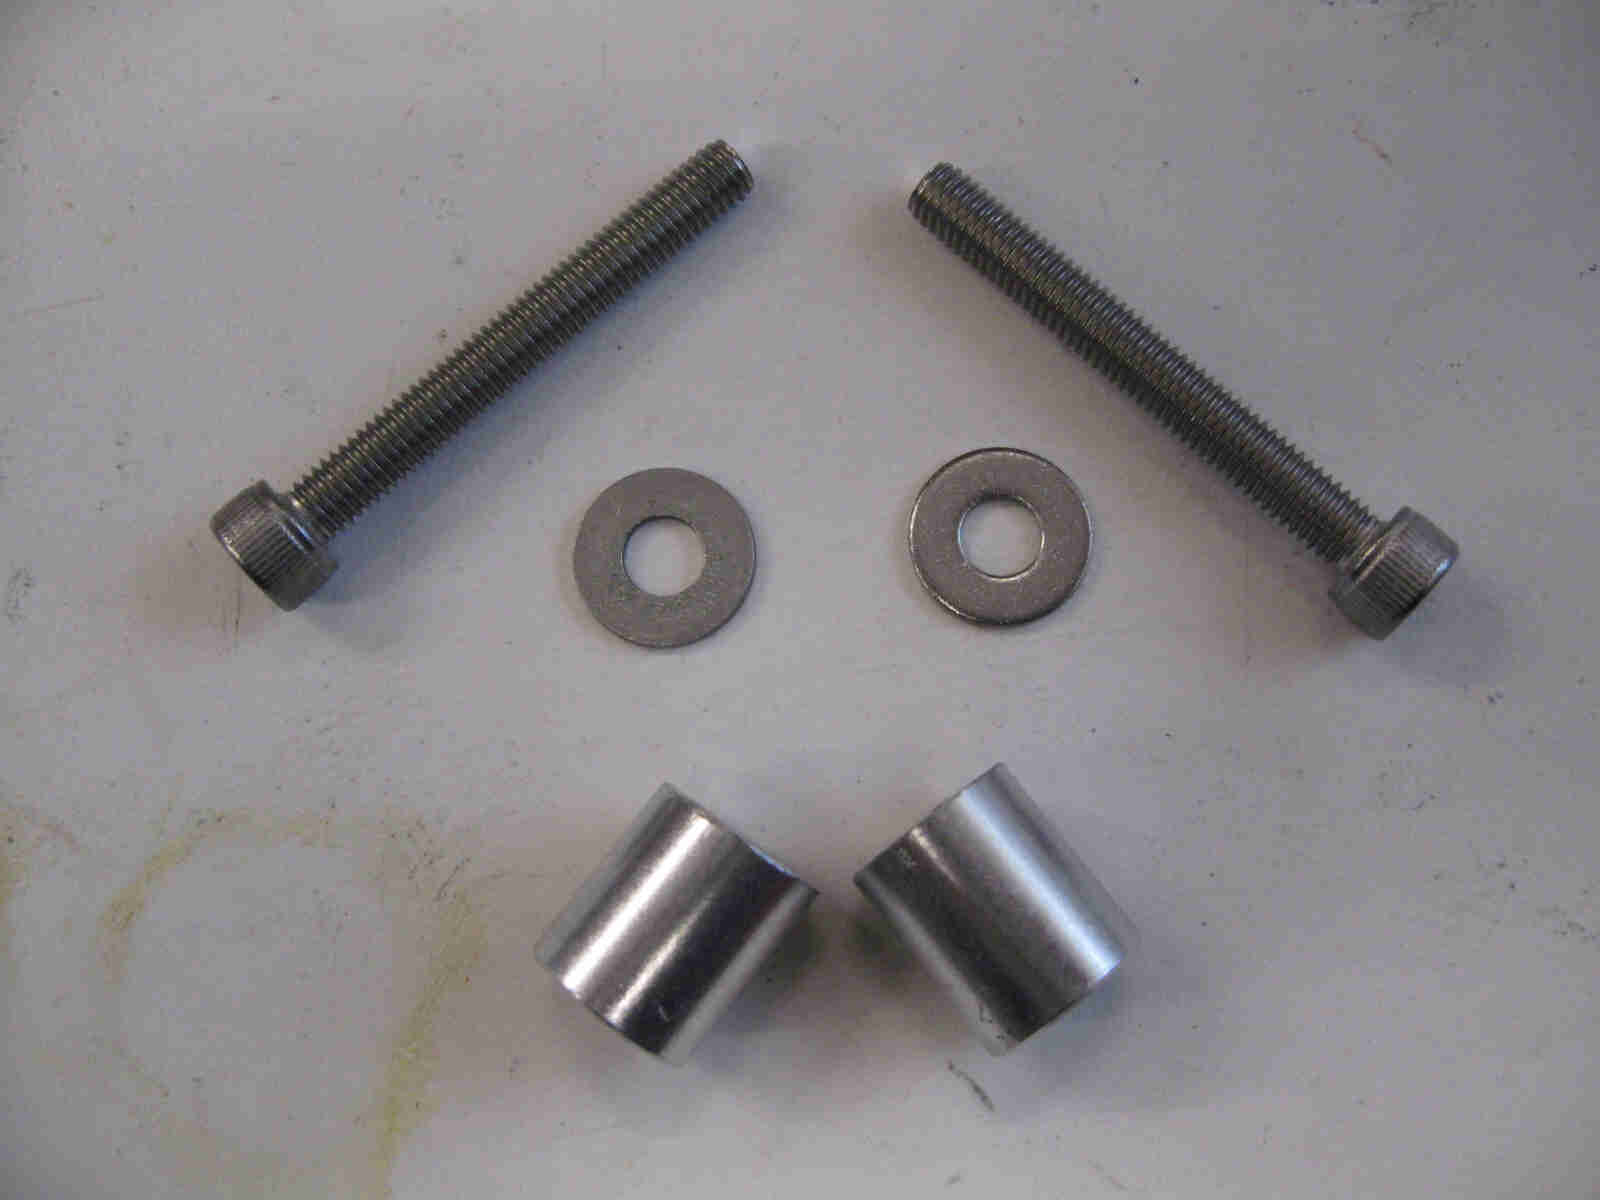
Spacer cut freehand in a vice with a aluminum hacksaw and filed down a touch, washers and 40mm bolts. All provided.
Yeah, the struts stick out kinda far but hey who cares?! You’re just trying to stay dry.
Yeah, yeah, this ain’t pretty either but this is easily fixed with a slotted or drilled out plate used as an adaptor to drop the fender down and close that gap. This piece will cost you pennies at the hardware store. You can figure it out. I know you can!
So you are done wrestling this beast. Now mount up and go catch that show, I’m sure the opening act sucked anyway.
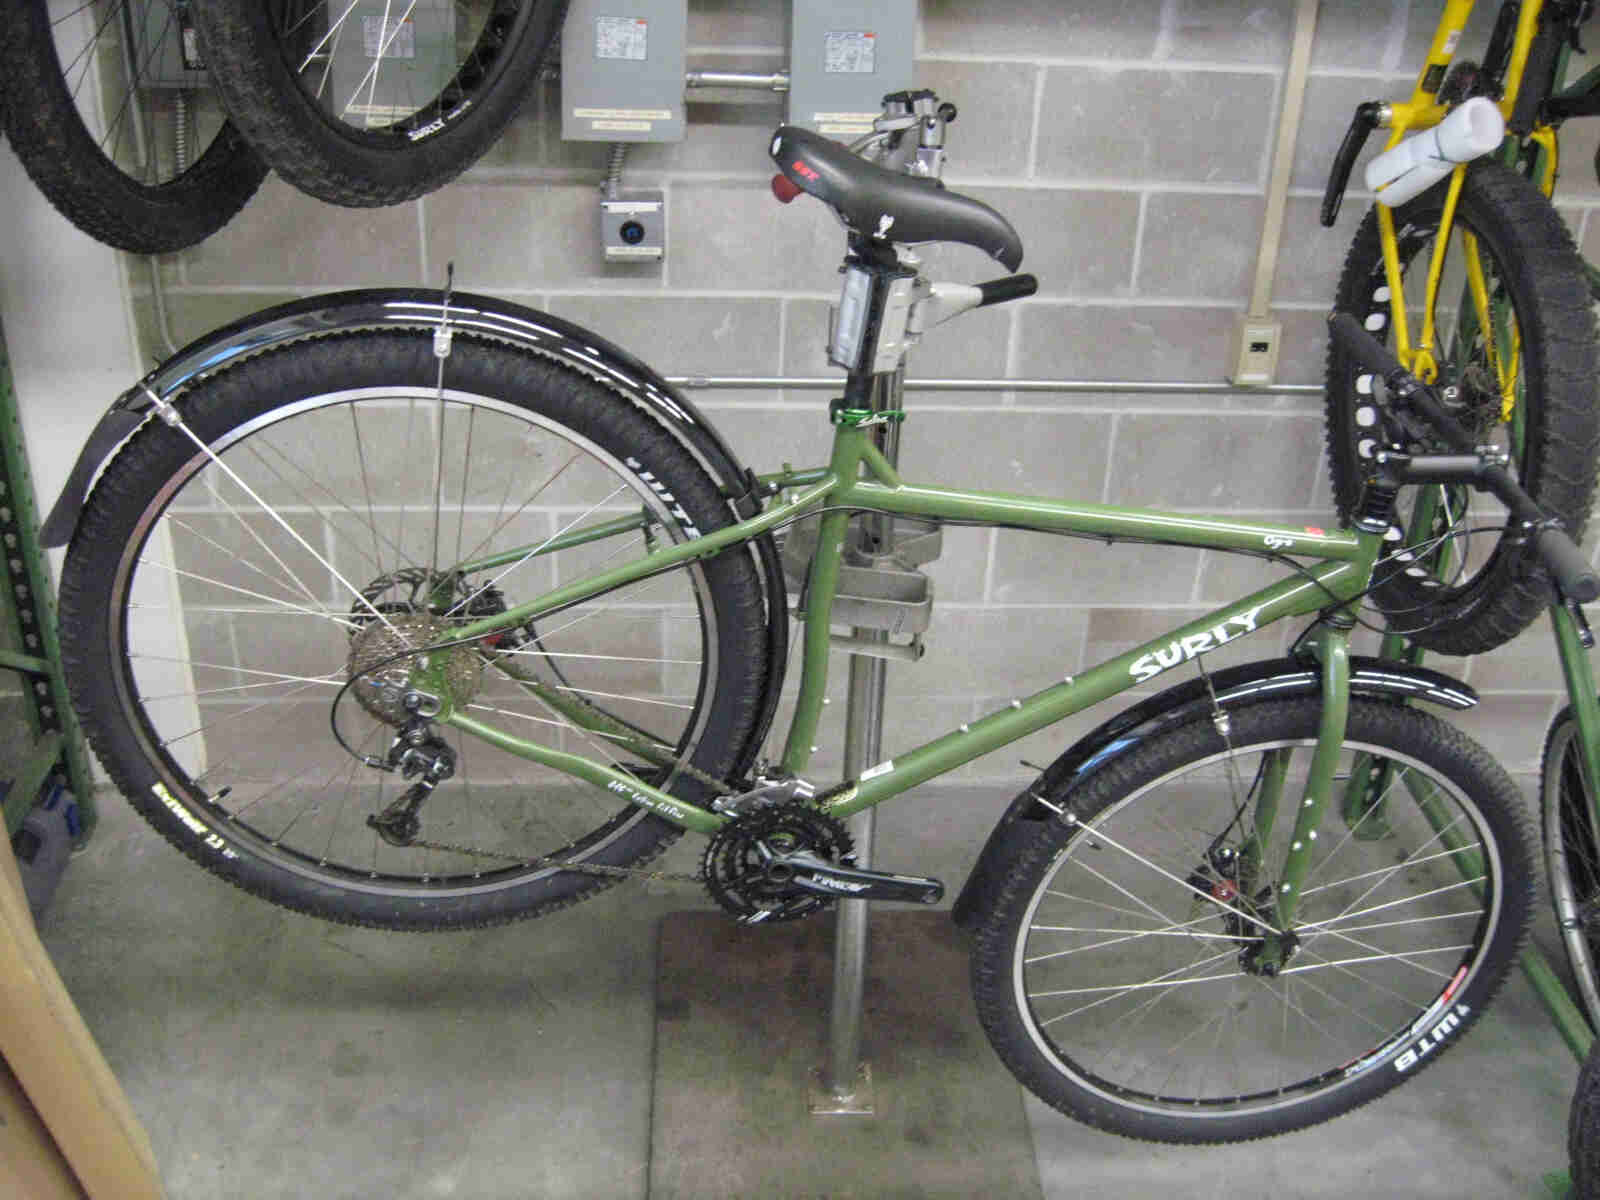
Ogre with fenders. Now you can keep your fancy pants and shoes clean. Big deal. Did I mention the other thing you could do? It would be to get a direct mount front der and adaptor. We might make that change somewhere down the road.
Did I mention it is cold here in Minnesota right now?
About $Trevor From Where Ever

T$ was born and raised in MPLS, MN. He does not own a car, opting instead for bikes and motorcycles to get around. He has a wide and varied taste in music, and once when he was young he filled a Super Soaker squirt gun with hot coffee and sprayed strangers on the street just for fun. Trevor manages our demo fleet, implements sales initiatives (acting as special concierge to many of our fine dealers) and tours the western reaches of the states in search of high adventure and intrigue.